Racingman24
Petty Officer 2nd Class
- Joined
- Jun 23, 2009
- Messages
- 126
Re: Here we go, diving in, hope there's water in the pool... Just Another Tinny Rebui
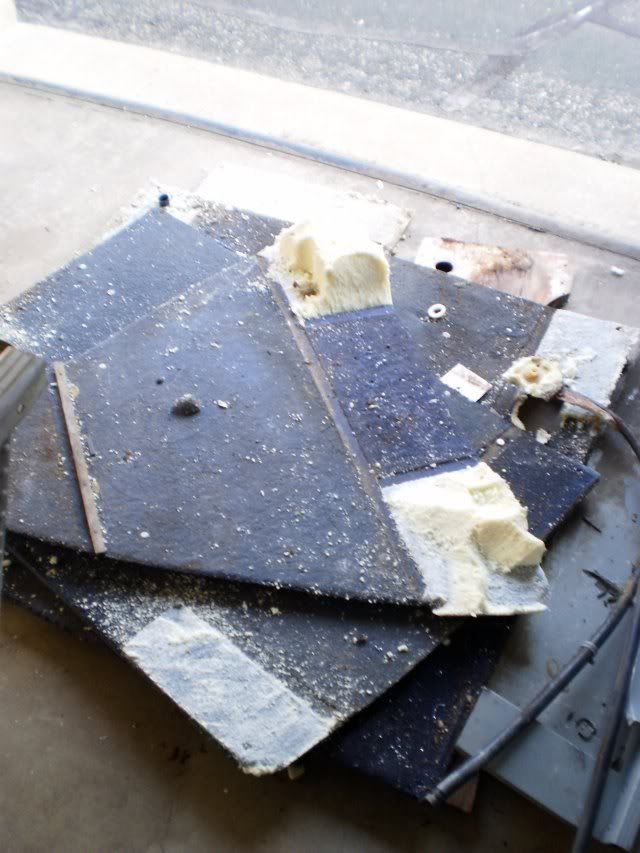
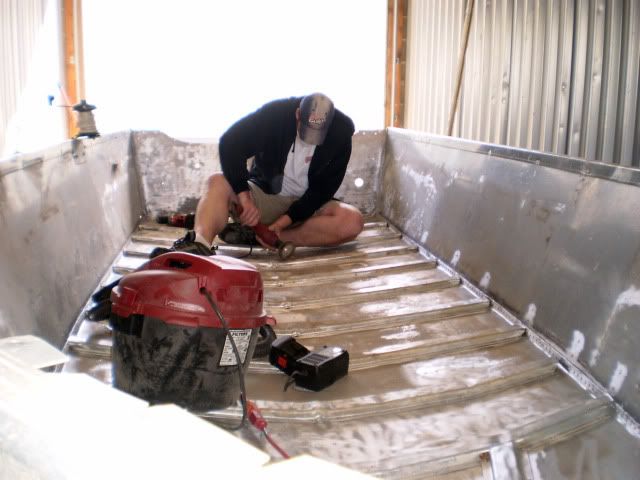
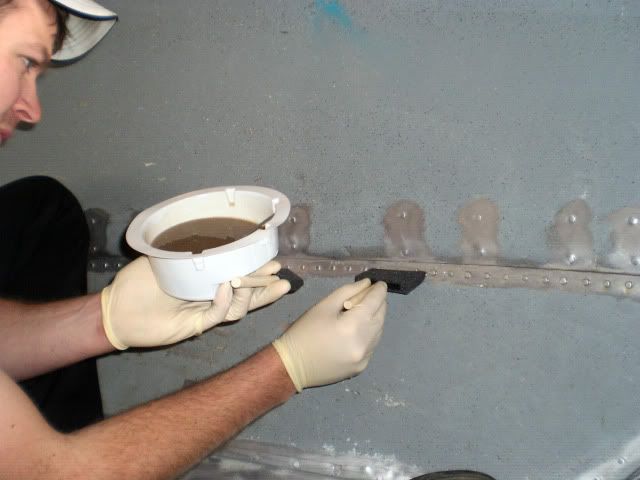
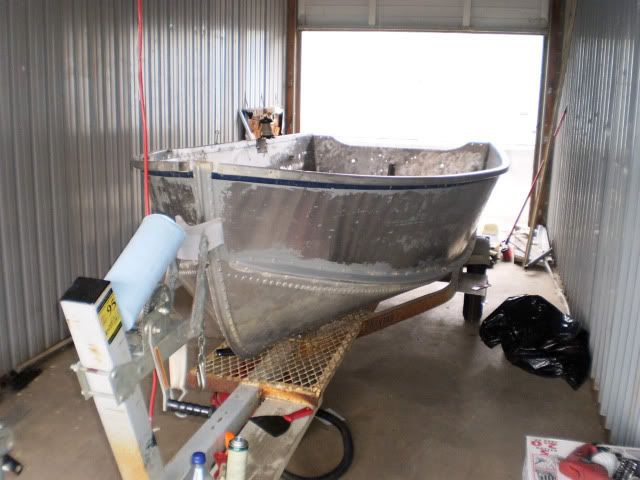
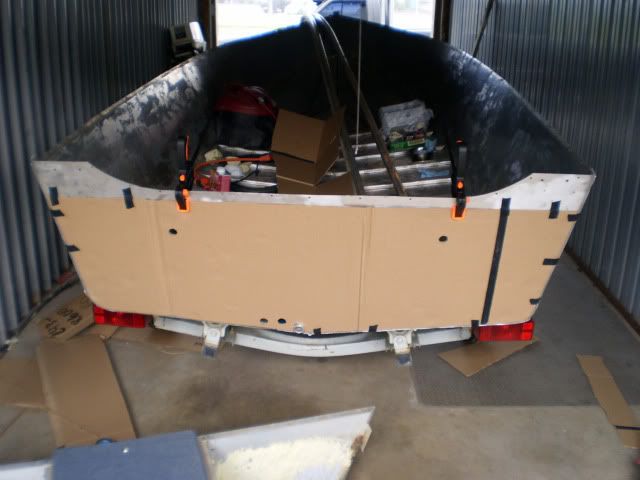
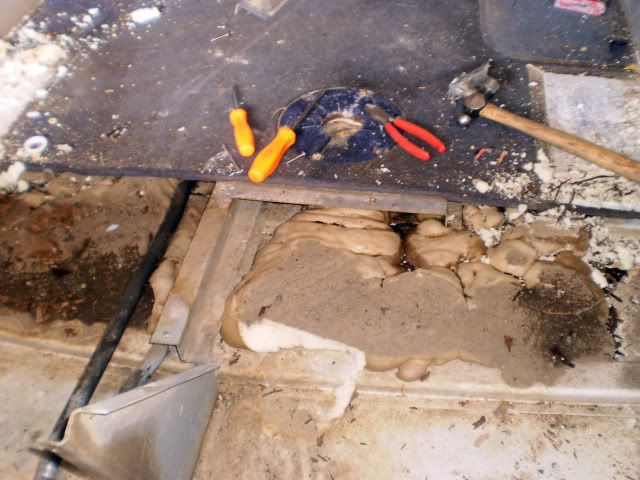
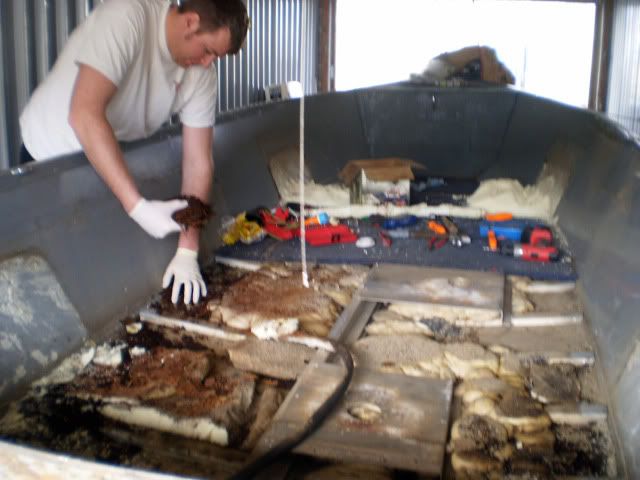
After that, it was onward to the floor. Here's the first part out. At least the foam under here was easy to pull and came out in big chunks
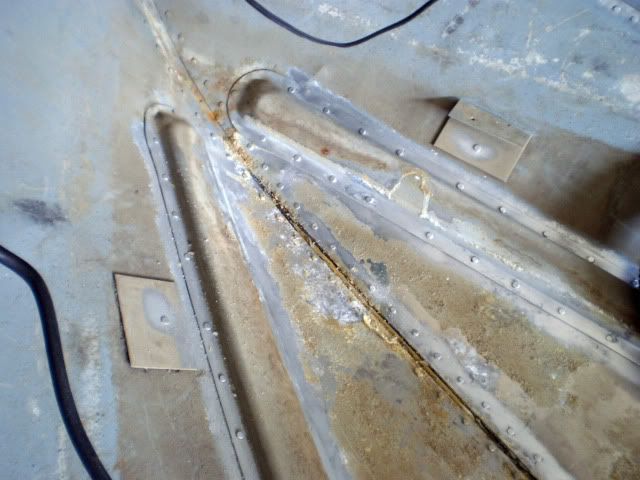
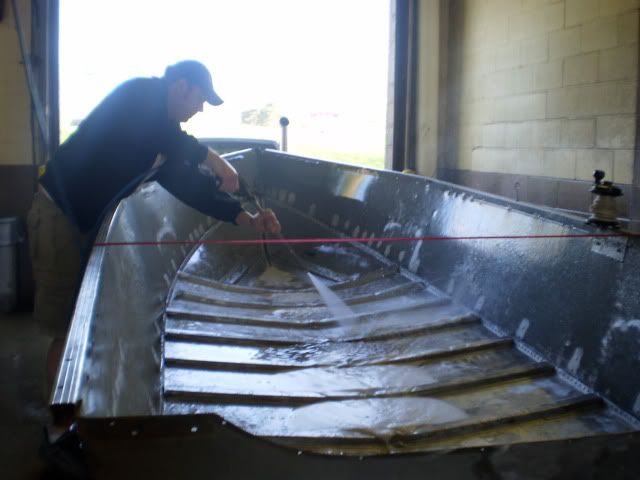
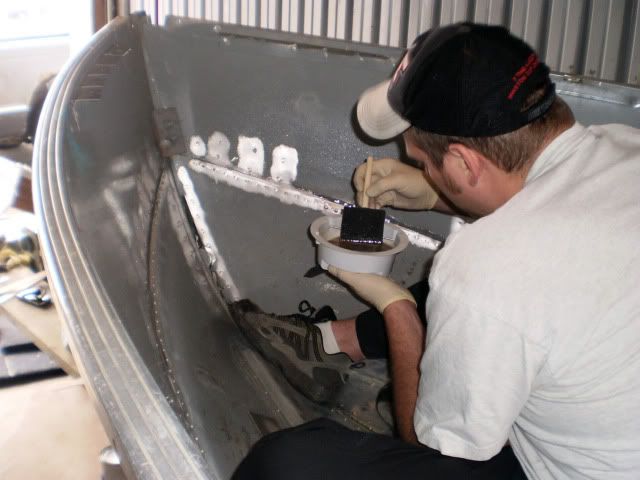
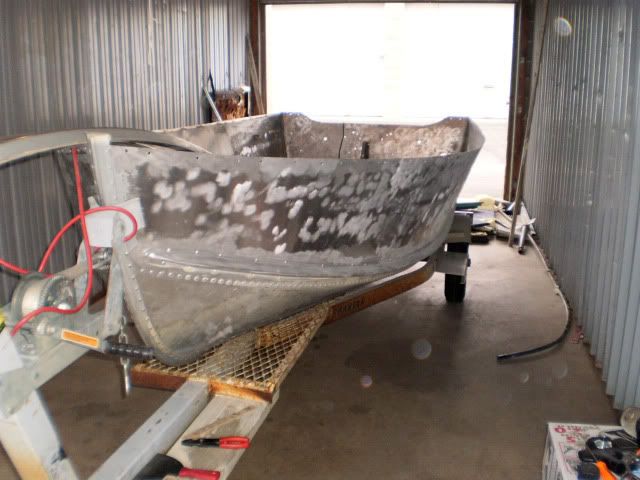
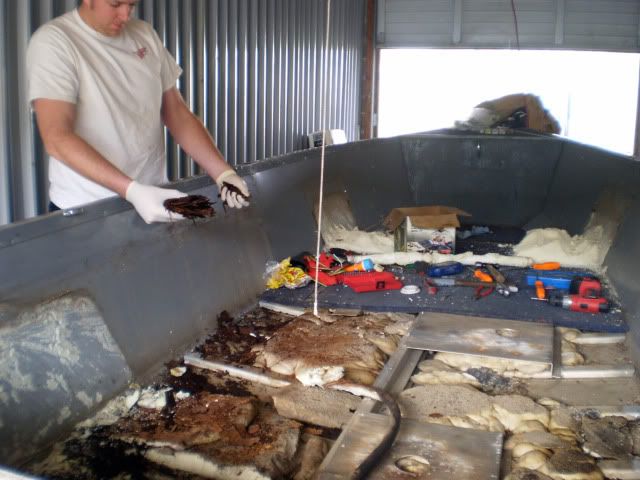
Once everything else was gone, pulling the floor was a cakewalk. And here I am inspecting something it would appear.
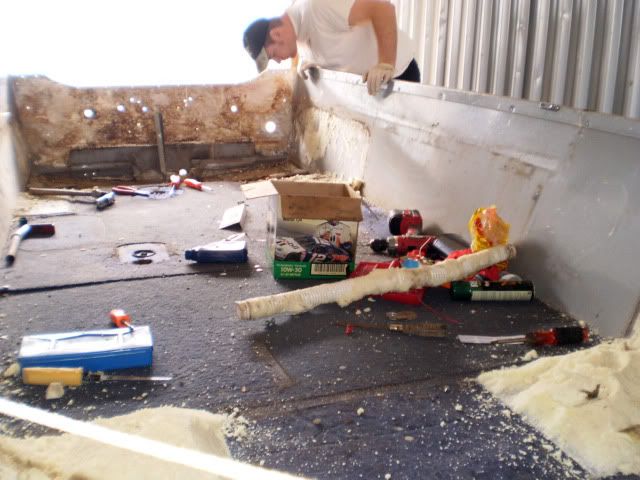
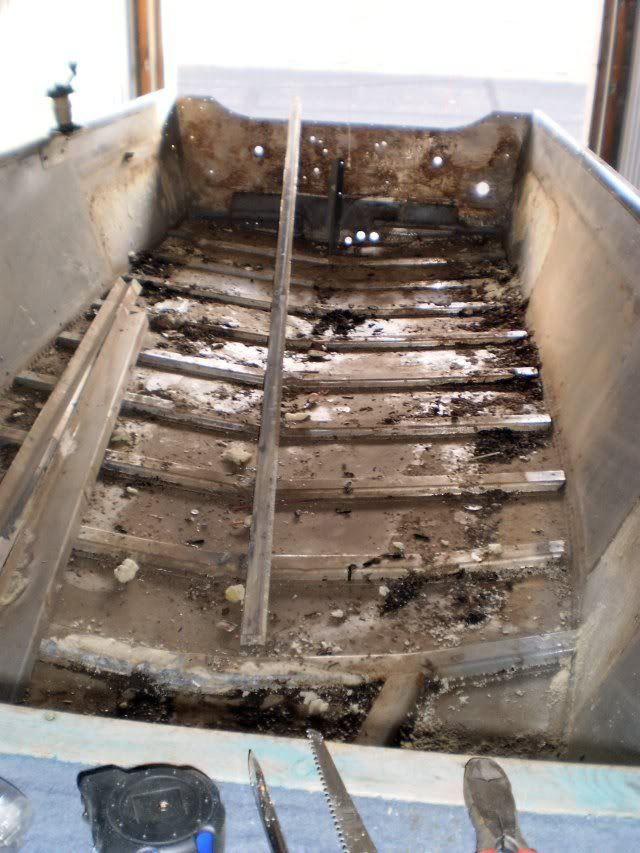
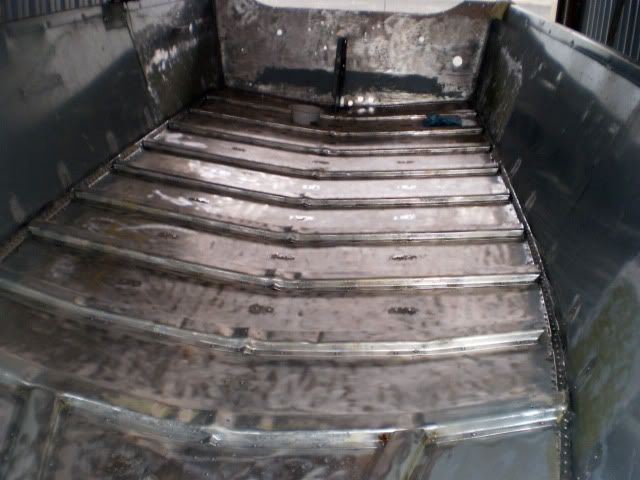
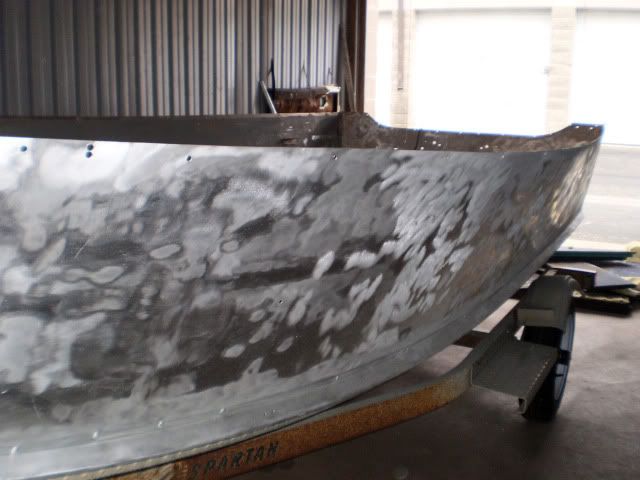
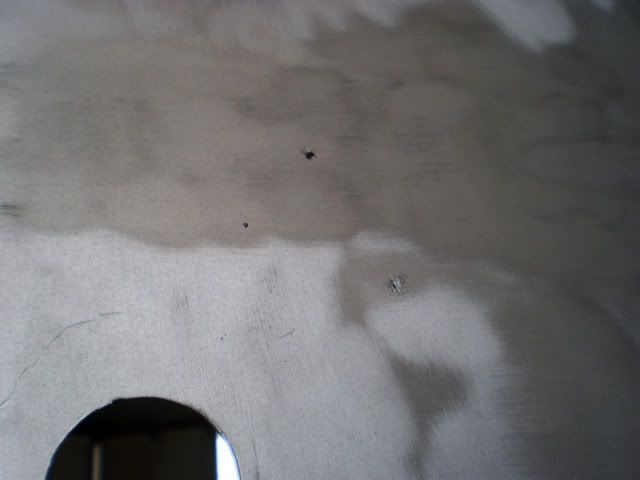
I'd say the floor was junk...what do ya think? [Notice how the tools keep moving farther and farther forward, and don't removed 'til there is no floor left.") ]
]
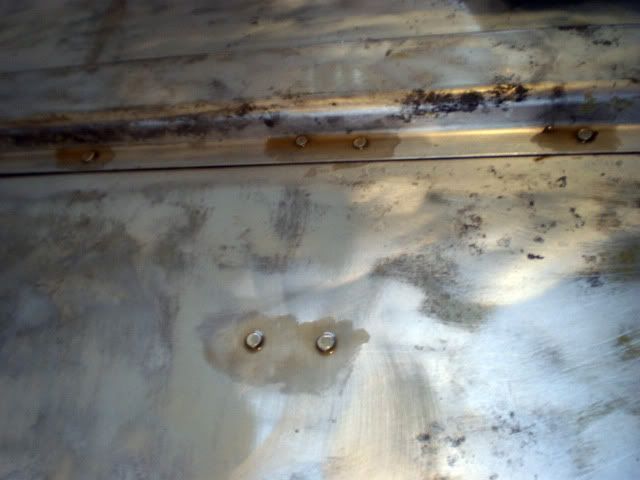
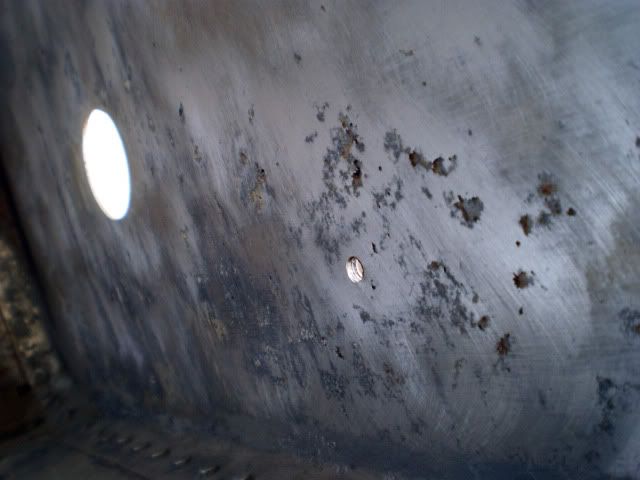
Ick.
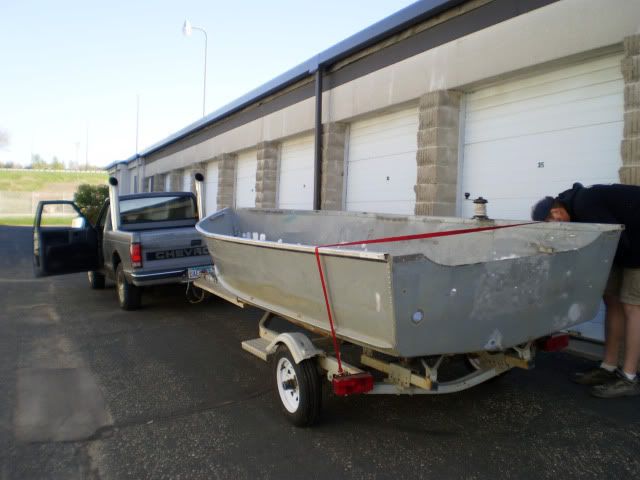
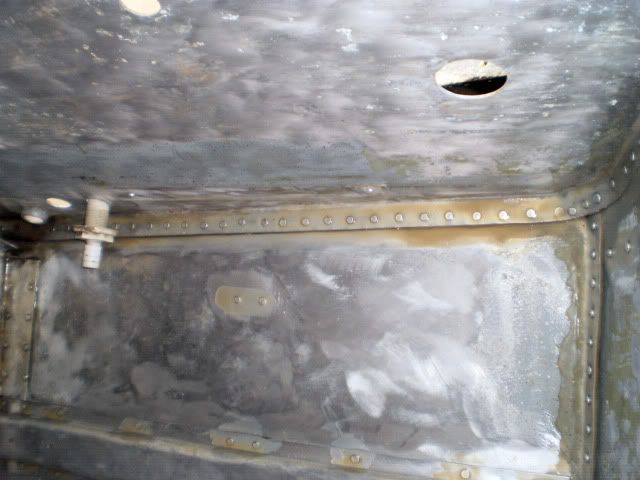
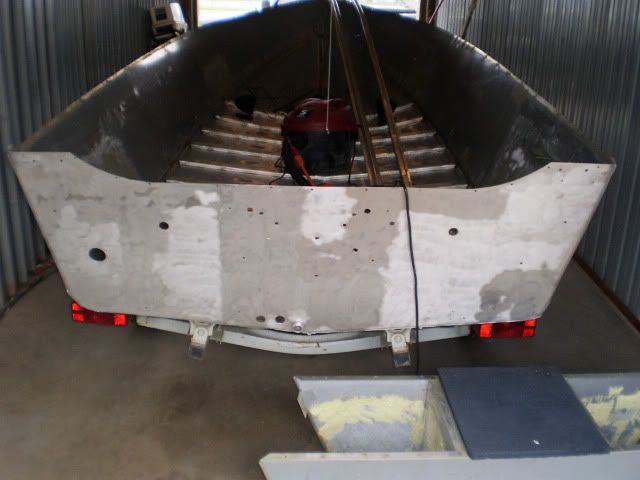
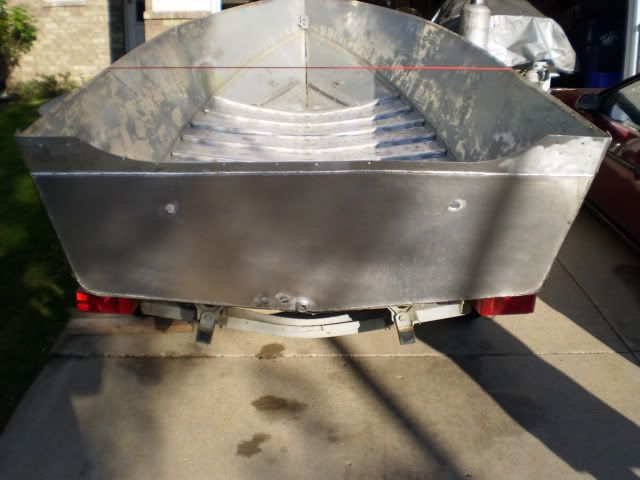
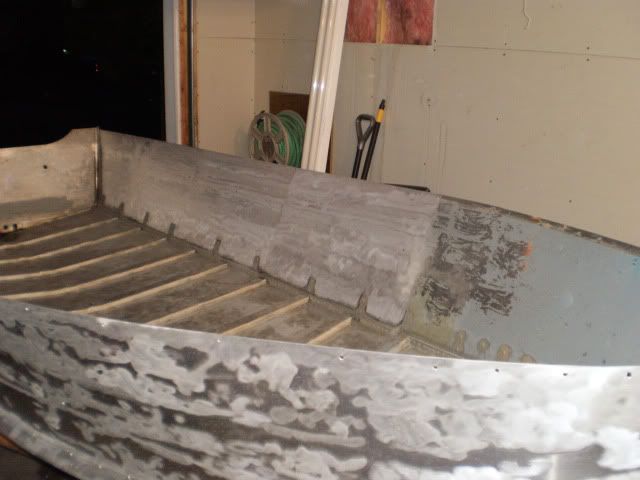
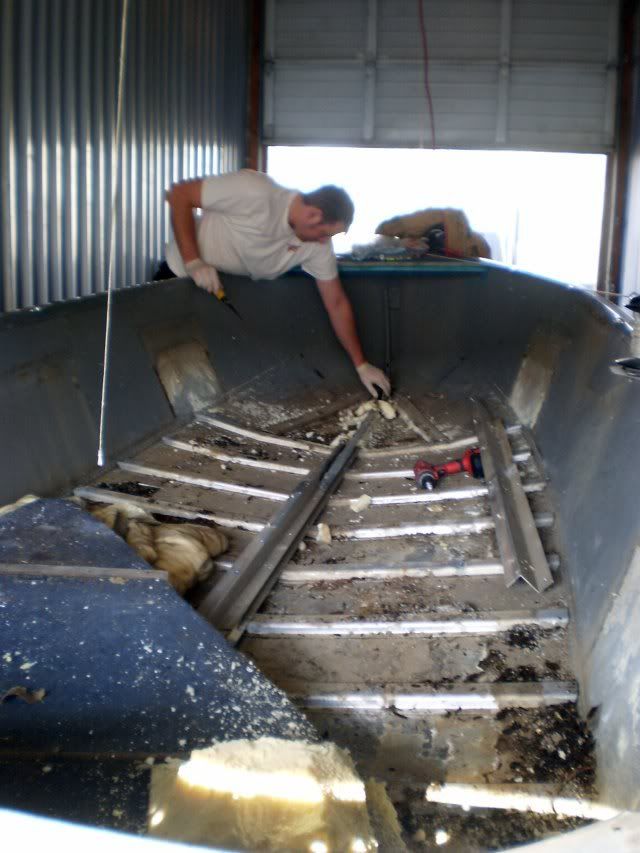
Annnnnd the floor is out. Really went much quicker than I thought it would. And again, you can see me fighting with more foam, trying to get all of it out.
After that, it was onward to the floor. Here's the first part out. At least the foam under here was easy to pull and came out in big chunks
Once everything else was gone, pulling the floor was a cakewalk. And here I am inspecting something it would appear.
I'd say the floor was junk...what do ya think? [Notice how the tools keep moving farther and farther forward, and don't removed 'til there is no floor left.
]
Ick.
Annnnnd the floor is out. Really went much quicker than I thought it would. And again, you can see me fighting with more foam, trying to get all of it out.