*EdC*
Senior Chief Petty Officer
- Joined
- Oct 31, 2007
- Messages
- 661
Re: Restoring my MFG
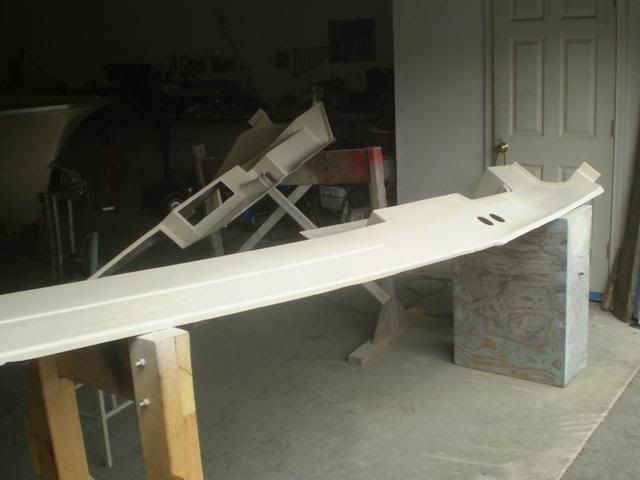
Hi Guys.
Here's how I spent my weekend.......
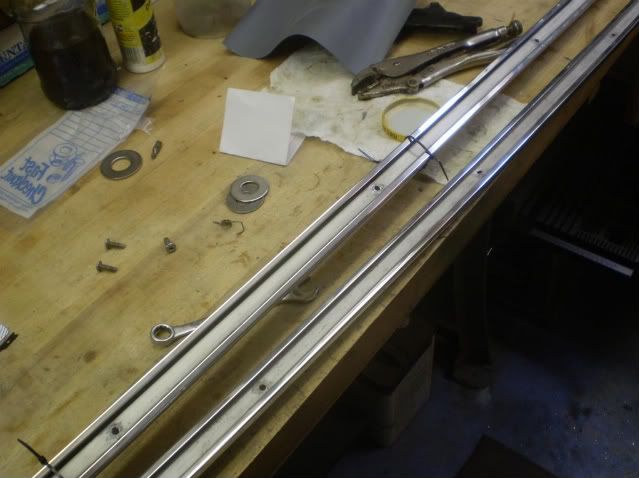
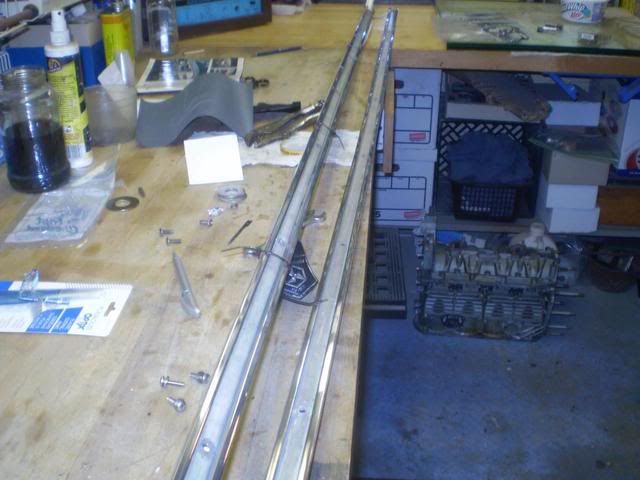
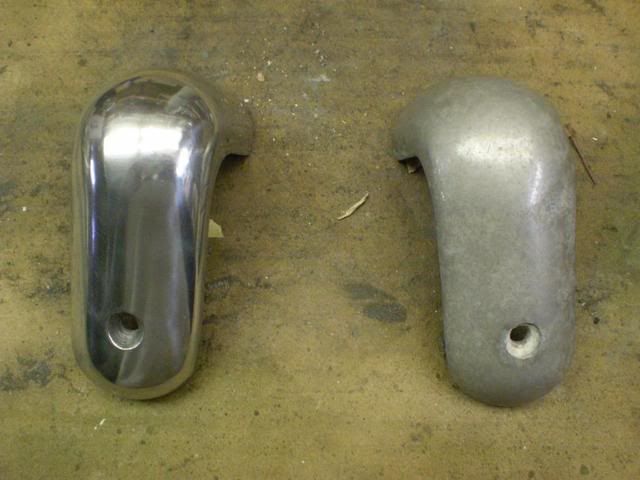
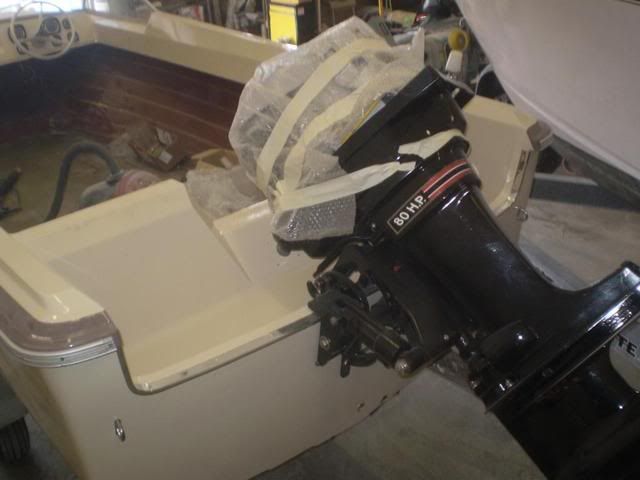
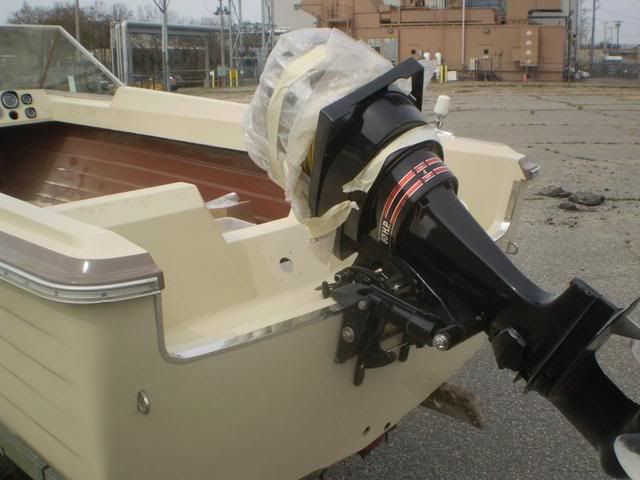
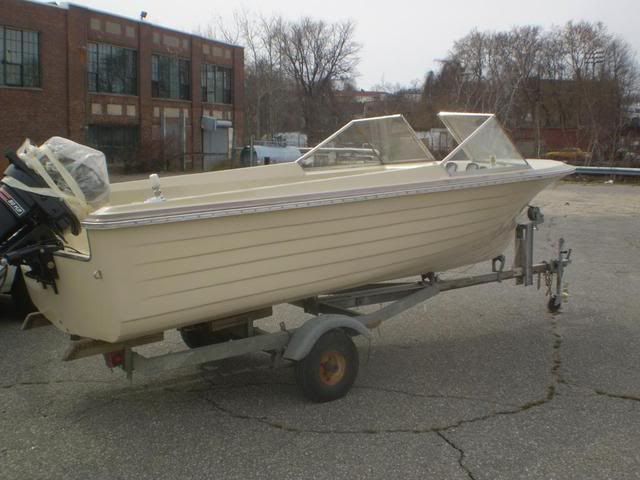
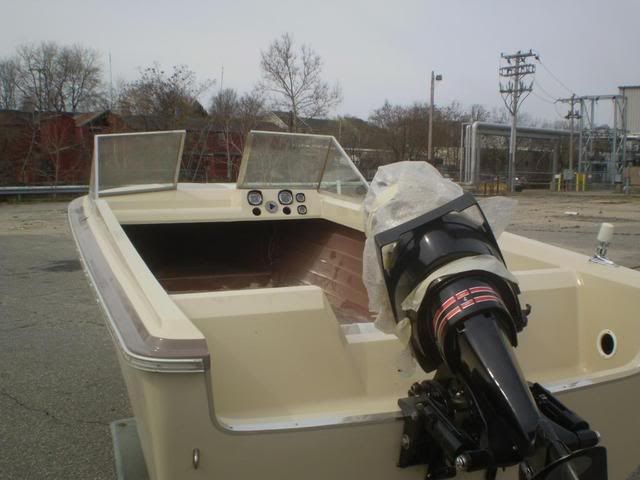
Finally got my transom complete...Whewww! Polished the aluminum trim, and got the motor mounted.
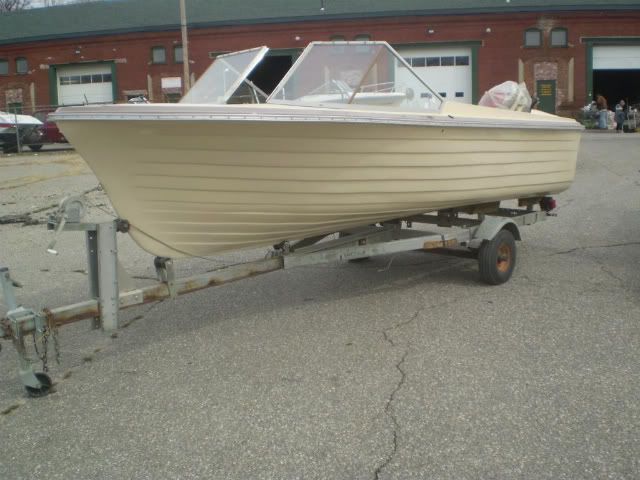
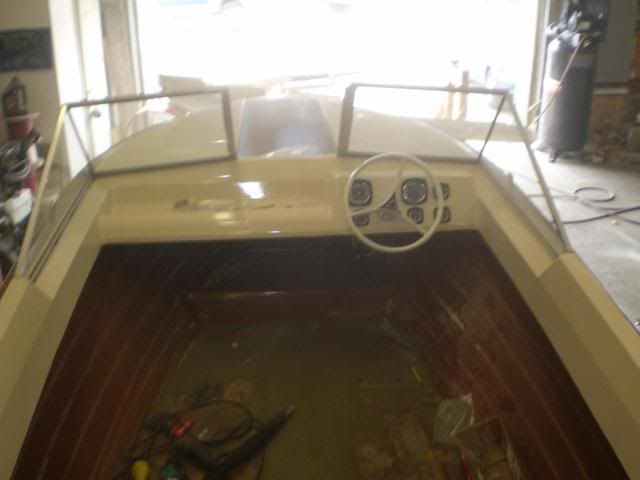
Got the windshield on. I still need to fit the center section.
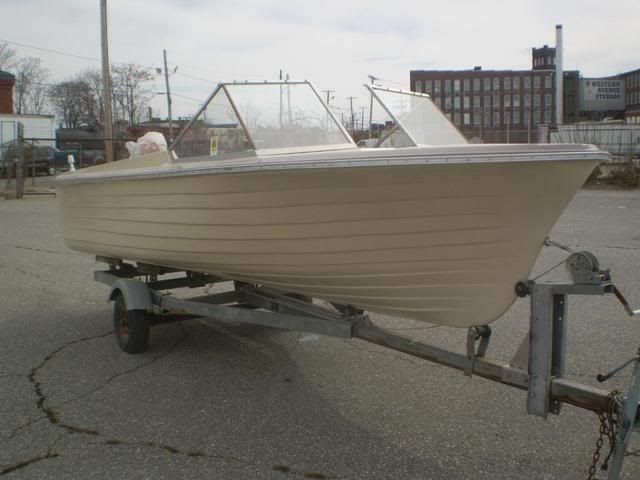
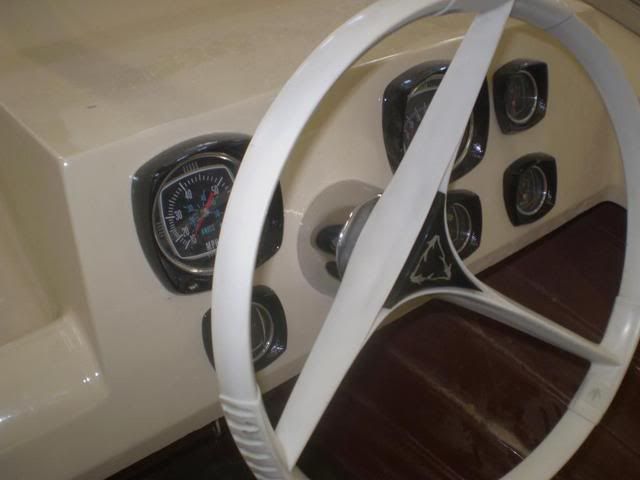
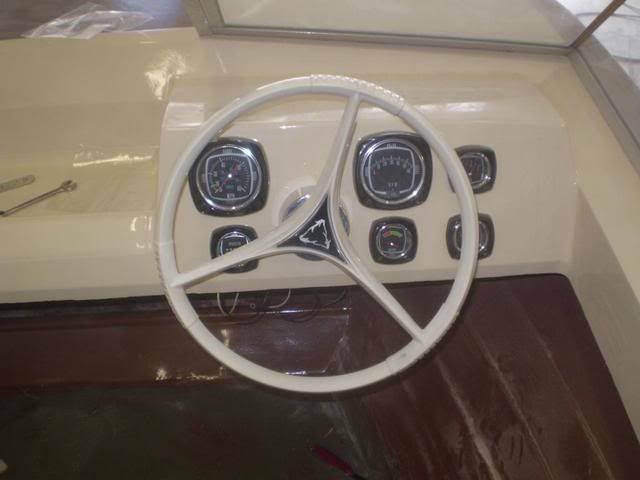
Got the inner cockpit sides painted and started in on the gauges.
Hi Guys.
Here's how I spent my weekend.......
Finally got my transom complete...Whewww! Polished the aluminum trim, and got the motor mounted.
Got the windshield on. I still need to fit the center section.
Got the inner cockpit sides painted and started in on the gauges.
 Not much to go by. I have an original 1968 catalog, and the three photos in it were marginal at best. The catalog lists them as Tahiti Sand and Driftwood.