Re: Starcraft SS Specific Transom Replacement Questions: My Rebuild Project
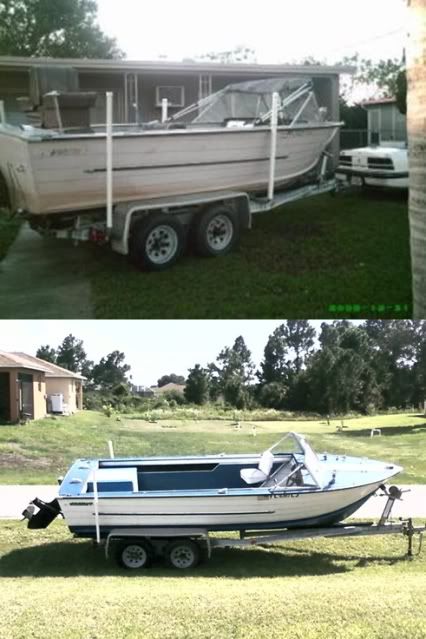
Well, truthfully I was just planning on scuffing up the old paint, spraying primer over it since there are some spots of missing paint, and painting the thing. I'm not going to win any boat shows. I just want something a little prettier than what I have now. Who knows? I may decide just to paint the transom while the motor is off and leave the rest for a bored weekend. At this point the boat has character.
Well, truthfully I was just planning on scuffing up the old paint, spraying primer over it since there are some spots of missing paint, and painting the thing. I'm not going to win any boat shows. I just want something a little prettier than what I have now. Who knows? I may decide just to paint the transom while the motor is off and leave the rest for a bored weekend. At this point the boat has character.