1964 Starcraft Jet - Rebuild

InMotion

Commander
Joined
Nov 3, 2011
Messages
2,080
Re: 1964 Starcraft Jet - Rebuild

If possible you might try to aim the horn at the back of your carpeted bulkhead. Might tone it down just a touch for those in the boat.

I don't underestimate the fun of a stealth install & surprise horn test on the initial family outing :faint2: <<< again, untested hyothesis, and probably ill-advised...........

Gonna give it a try in the am --- horn facing the bulkhead.... 4:30am horn tests do have a tendency to go over rather poorly with neighbors (or what are commonly referred to as "former happy neighbors), the Admiral and one's offspring!

J.
 

GA_Boater

Honorary Moderator Emeritus
Joined
May 24, 2011
Messages
49,038
Re: 1964 Starcraft Jet - Rebuild

Gonna give it a try in the am --- horn facing the bulkhead.... 4:30am horn tests do have a tendency to go over rather poorly with neighbors (or what are commonly referred to as "former happy neighbors), the Admiral and one's offspring!

J.

Best to wait until later, Jim. 4:38AM is ok. :rolleyes:
 

dozerII

Admiral
Joined
Oct 25, 2009
Messages
6,527
Re: 1964 Starcraft Jet - Rebuild

Okay it's 5:20 I can't hear it Jim So I think facing it at the bulk head is not working.:laugh:
 

InMotion

Commander
Joined
Nov 3, 2011
Messages
2,080
Re: 1964 Starcraft Jet - Rebuild

Okay it's 5:20 I can't hear it Jim So I think facing it at the bulk head is not working.:laugh:

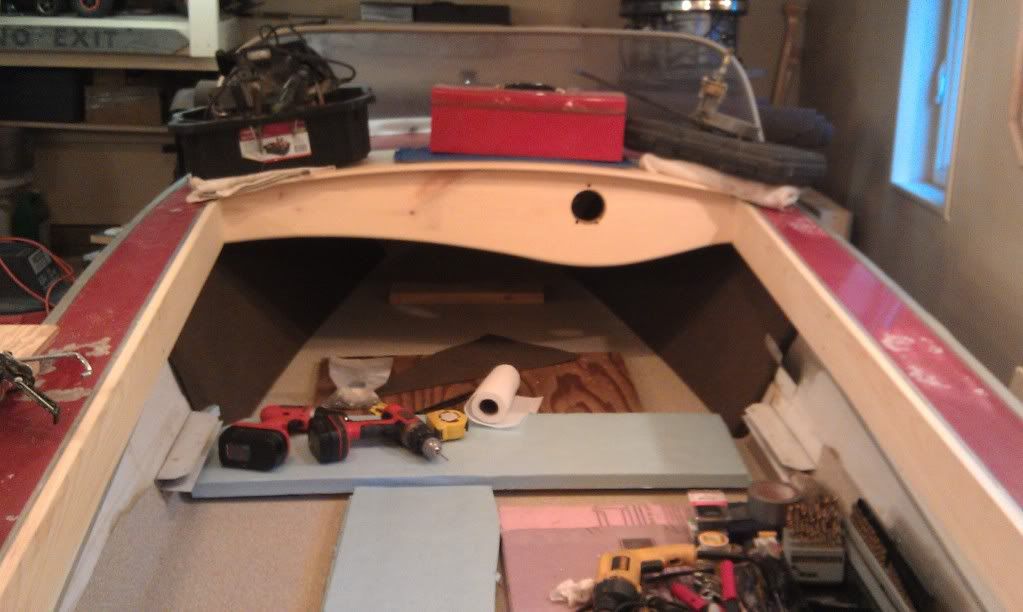
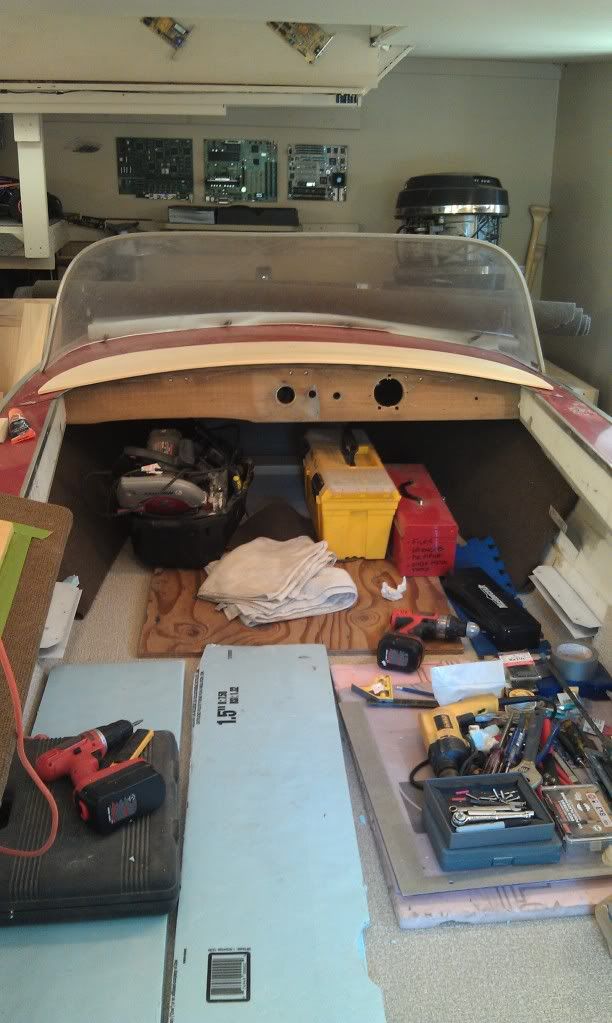
Ya... no horn tootin' today!! Got in installed though... It's like a scroll --- think a turbo charger and you will get the idea. So I had to install it facing the underside of the bow! Out of the way and ready to make some noise!!

Also... got a bunch of things done...

- Wiring is all roughed in
- Led lights are roughed in up front
- Splash well is sealed
- Went and ordered fuse block, threw hull fitting for the bilge, and 2 splashwell drains
- Dug out the 1988 60 hp lower unit, cleaned it up, pulled the water pump, ordered a new one and worked on it for a while --- prepping it for sale
- Cleaned up the garage in prep for later today spar of the dash, side boards and bulked head board

And.....

Got this installed....


Yup the dash pad is in... glued and screwed and weighted down til tomorrow.

Tomorrow, I will puddy the holes and spar some more...

Somehow doesn't seem like much... but it feels good to get a whole bunch of little things that were hanging there...

Have a great Sat fellas!!!!

Jim
 

GA_Boater

Honorary Moderator Emeritus
Joined
May 24, 2011
Messages
49,038
Re: 1964 Starcraft Jet - Rebuild

I'm disappointed, Jim. Your dash pad weights look more professional this time. I liked the rocks, last time. :)
 

InMotion

Commander
Joined
Nov 3, 2011
Messages
2,080
Re: 1964 Starcraft Jet - Rebuild

I'm disappointed, Jim. Your dash pad weights look more professional this time. I liked the rocks, last time. :)

LOL....actually thought about putting rocks there... but I had the tools right at hand!!! When I bend the front seat top pad I'll make sure I use some rocks for ya!!!

J.
 

InMotion

Commander
Joined
Nov 3, 2011
Messages
2,080
Re: 1964 Starcraft Jet - Rebuild

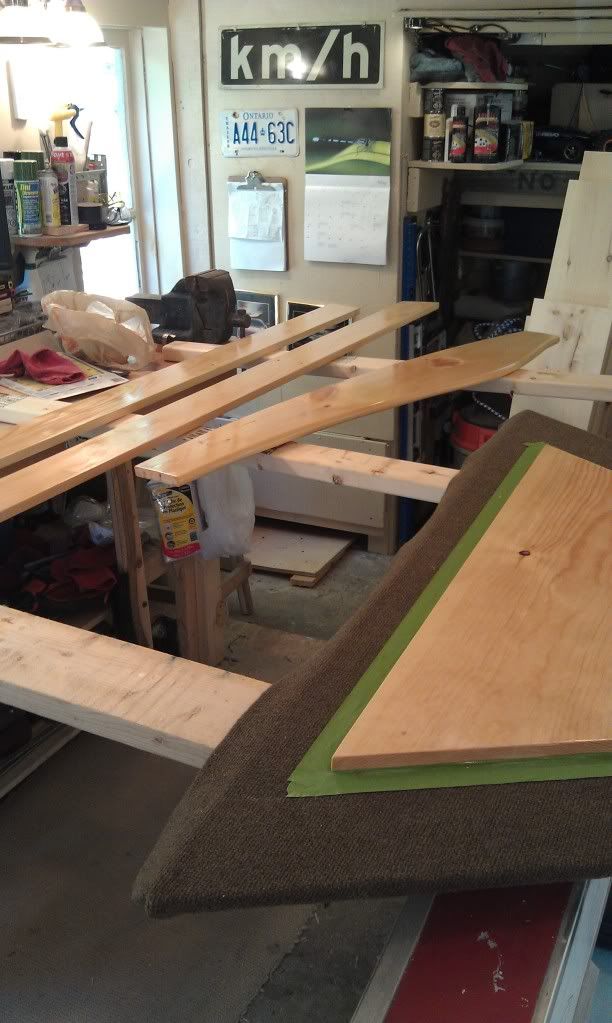
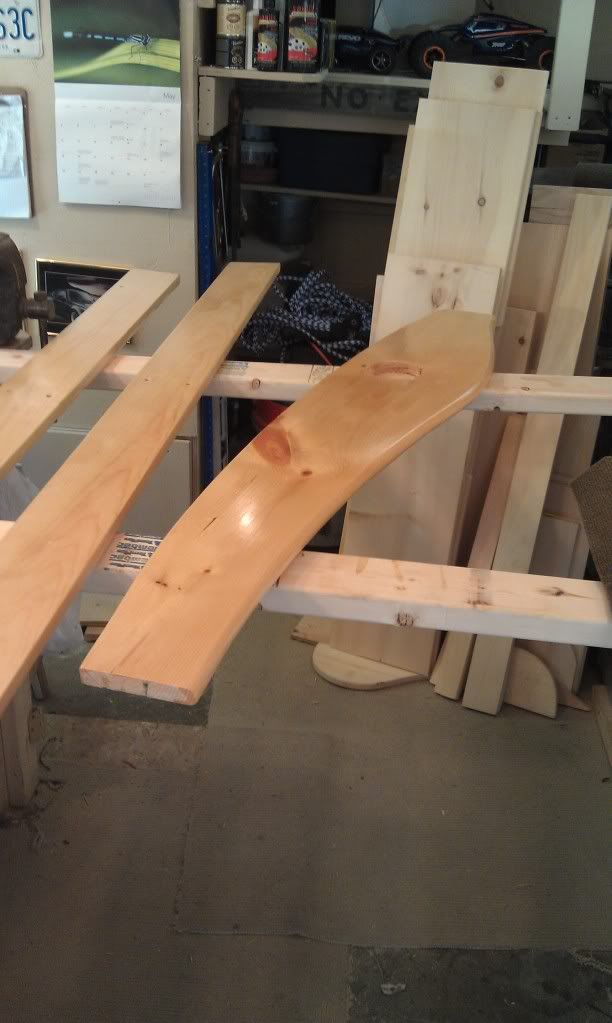
First coat of spar is on the dash piece, bulk head piece and the two gunwale pieces.... starting to look like a semi-finished boat!

J.
 

classiccat

"Captain" + Starmada Splash Of The Year 2020
Joined
Dec 20, 2010
Messages
3,412
Re: 1964 Starcraft Jet - Rebuild

not cool teasing us like this...did you leave your camera in the boat?

It's really comin' along...all down hill from here!
 

InMotion

Commander
Joined
Nov 3, 2011
Messages
2,080
Re: 1964 Starcraft Jet - Rebuild

not cool teasing us like this...did you leave your camera in the boat?

It's really comin' along...all down hill from here!

Just building the tension up a tad.... :)

Thanks man... feels like I have crested the hill for sure now...

J.
 

InMotion

Commander
Joined
Nov 3, 2011
Messages
2,080
Re: 1964 Starcraft Jet - Rebuild

2 coats of spar and counting....


Dash pad is set... filled in the screw holes...


Gonna get another coat tomorrow am and sand the filler on the dash pad. I sanded between coats of spar with 320 grit paper... made a big difference when applying the spar.... much smoother. I also now only use foam brushes for this work... bought a bunch and just pitch them after each use. The floor and transom I used a couple of cheapo brushes... don't mind if it is a little rough.

Have a great evening fellas!

J.
 

dozerII

Admiral
Joined
Oct 25, 2009
Messages
6,527
Re: 1964 Starcraft Jet - Rebuild

Looking real good Jim, can't wait to see the finished project.
 

InMotion

Commander
Joined
Nov 3, 2011
Messages
2,080
Re: 1964 Starcraft Jet - Rebuild

Looking real good Jim, can't wait to see the finished project.

Thanks Glen! Me too!!!

Got the 4th coat of spar on the boards and 1st coat on the dash this evening! Thinking tomorrow I will try to get the sides and dash re-installed so that I can get moving forward with the rest of the interior!!!

J.
 

Bwana Don

Lieutenant Commander
Joined
Oct 20, 2009
Messages
1,951
Re: 1964 Starcraft Jet - Rebuild

Nice job, can't wait to see this one done. It will be a beaut.
 

dozerII

Admiral
Joined
Oct 25, 2009
Messages
6,527
Re: 1964 Starcraft Jet - Rebuild

Hey Jim, great talking with you last night. I emailed you a link to O/B height. Tried to print off the linc and sinc and the manual I have is protected and it won't let me print or save the two most important pages. I'm still trying to find the thread that has the instructions on the forum.
 

InMotion

Commander
Joined
Nov 3, 2011
Messages
2,080
Re: 1964 Starcraft Jet - Rebuild

Hey Jim, great talking with you last night. I emailed you a link to O/B height. Tried to print off the linc and sinc and the manual I have is protected and it won't let me print or save the two most important pages. I'm still trying to find the thread that has the instructions on the forum.

Hey Glen,

Great chattin' as well!! I took a read and it looks great! If you can get the link and sink that would be awesome!

Thanks man.

Jim
 

InMotion

Commander
Joined
Nov 3, 2011
Messages
2,080
Re: 1964 Starcraft Jet - Rebuild

Guys going nuts here trying to get the bilge pump hooked up correctly. It is a Mayfair Marine Model 32502. It only has two wires coming out of it... I expected 3. Perhaps because it does not have a float??? Anyway, I do not have wiring specs on this.... but from what I can gather, I would run the negative (black wire on the bilge) to the buss bar and the brown wire (positive)to the negative buss bar and then from the negative buss bar to the off side of the switch. Then the from the positive side of the battery I would put an inline fuse of 5 amps??? really close to the battery and then connect that wire to the on side of the switch.

Does this sound at all close to right????

Something that seams so simple has thrown me for a wierd trip here! Man... it must be the heat getting to me!!! :)

Thanks fellas!

Jim
 

GA_Boater

Honorary Moderator Emeritus
Joined
May 24, 2011
Messages
49,038
Re: 1964 Starcraft Jet - Rebuild

Hey Jim, bambozzled, huh? Here's the pump - Johnson Pumps-Mayfair, 32502, Pumps - Plumbing, Bilge Pumps, Non-Automatic Bilge Pumps, Johnson Pumps-Mayfair 500 GPH Cartridge Bilge Pump 32502 - at FirstChoiceMarine.com

Looks like no auto switch. So here's how I would hook it up. Brown wire fused to the positive buss. Black wire to the dash switch and then to the negative buss. If you want to auto it, Black wire from pump to a float switch and other side of switch to negative buss. It's always ready to blow water that way.

I have two pumps, one switched on/off from the dash as in the first way and #2 wired auto like my second way.

I'm just trying to get you to chill. :)
 
Top