1964 Starcraft Jet - Rebuild

InMotion

Commander
Joined
Nov 3, 2011
Messages
2,080
Re: 1964 Starcraft Jet - Rebuild

Hey Jim, bambozzled, huh? Here's the pump - Johnson Pumps-Mayfair, 32502, Pumps - Plumbing, Bilge Pumps, Non-Automatic Bilge Pumps, Johnson Pumps-Mayfair 500 GPH Cartridge Bilge Pump 32502 - at FirstChoiceMarine.com

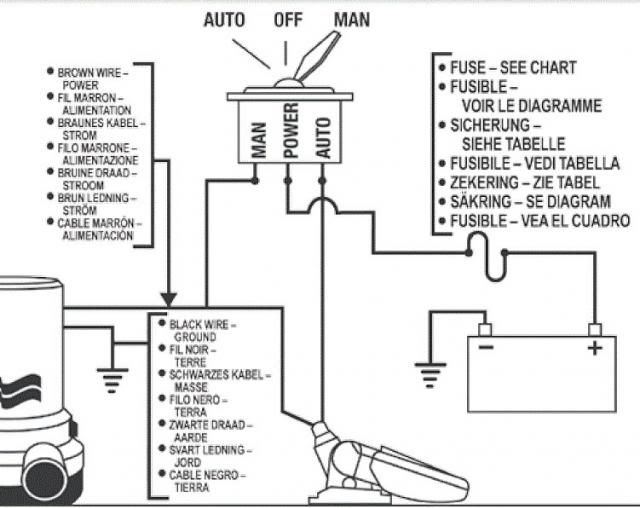
Looks like no auto switch. So here's how I would hook it up. Brown wire fused to the positive buss. Black wire to the dash switch and then to the negative buss. If you want to auto it, Black wire from pump to a float switch and other side of switch to negative buss. It's always ready to blow water that way.

I have two pumps, one switched on/off from the dash as in the first way and #2 wired auto like my second way.

I'm just trying to get you to chill. :)

Thanks GA! I will give it a go tonight!!!!

J.
 

Grandad

Lieutenant Commander
Joined
Jun 7, 2011
Messages
1,504
Re: 1964 Starcraft Jet - Rebuild

Brown wire fused to the positive buss. Black wire to the dash switch and then to the negative buss. If you want to auto it, Black wire from pump to a float switch and other side of switch to negative buss. It's always ready to blow water that way.
This method will work, but conventional wiring would both fuse and switch the positive while the negative remains solidly connected (unswitched). So you'd connect the positive bus to bilge fuse to toggle switch to float switch to pump. Also, using a single pole double throw centre off toggle switch provides the option of selecting between ON, OFF and AUTO (via float switch). - Grandad
 

InMotion

Commander
Joined
Nov 3, 2011
Messages
2,080
Re: 1964 Starcraft Jet - Rebuild

This method will work, but conventional wiring would both fuse and switch the positive while the negative remains solidly connected (unswitched). So you'd connect the positive bus to bilge fuse to toggle switch to float switch to pump. Also, using a single pole double throw centre off toggle switch provides the option of selecting between ON, OFF and AUTO (via float switch). - Grandad

Thanks Grandad!! Appreciated!

J.
 

InMotion

Commander
Joined
Nov 3, 2011
Messages
2,080
Re: 1964 Starcraft Jet - Rebuild

Alrighty fellas.... Got out to the boat at the crack of 4:00am today and got a pile of stuff done! Heading to the lake today.... so had to get some stuff done early!!

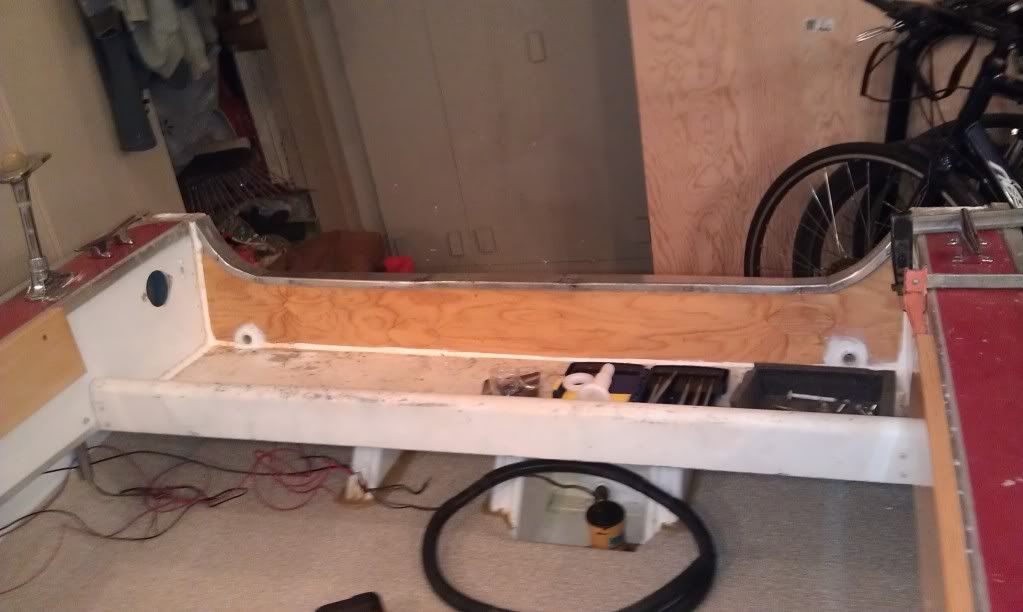
Got the splashwell drain tubes in and the transom cap (3 piece!) installed and sealed...


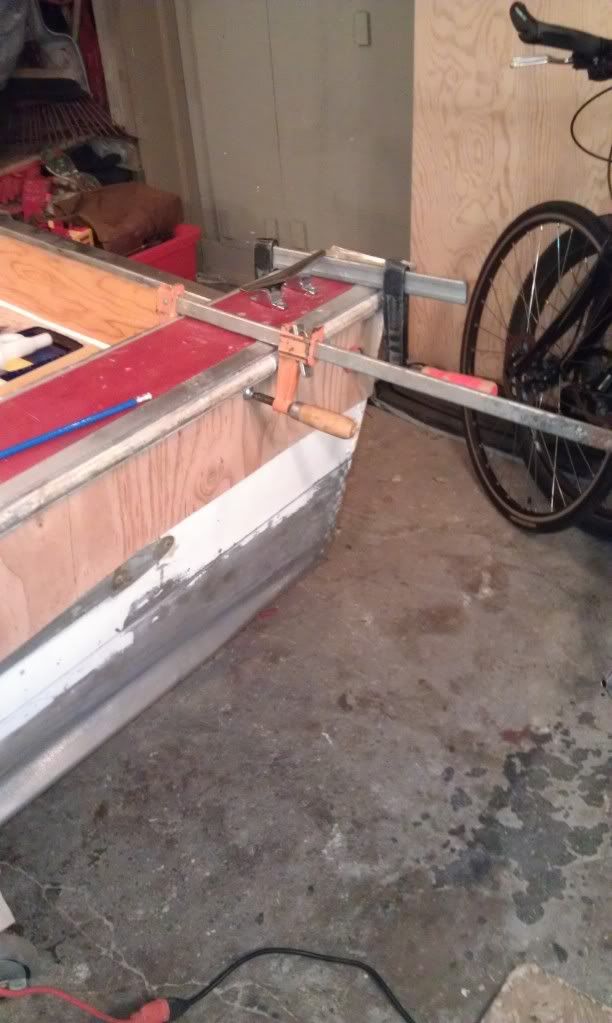
Drilled the hole in the side of the hull for the through hull fitting for the bilge.... however, I mis-read the package (as it turns out twice!!!) and drilled a 3/4 inch hole! Ooops... my bad. Soooooo.... it needs to be 1 1/8" hole.... so this is what I did.... clamped a scrap piece to the side of the hull, drilled from the inside using my trusty old auger bits and it worked like a charm!


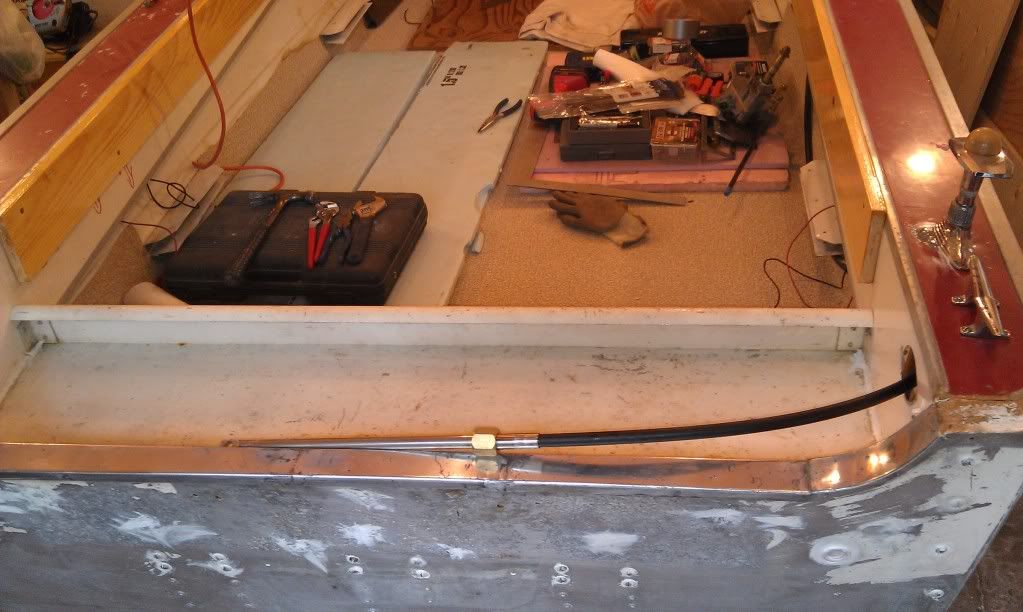
Also got the steering cable in.... I need to pickup some longer bolts to attach the steering box to the dash as the dash is a tad thicker now!


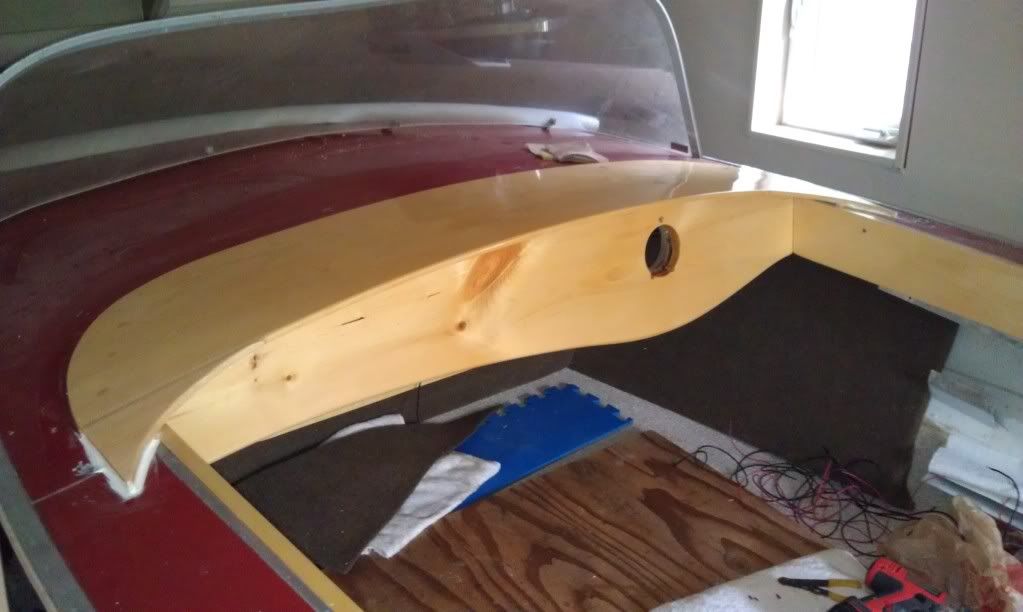
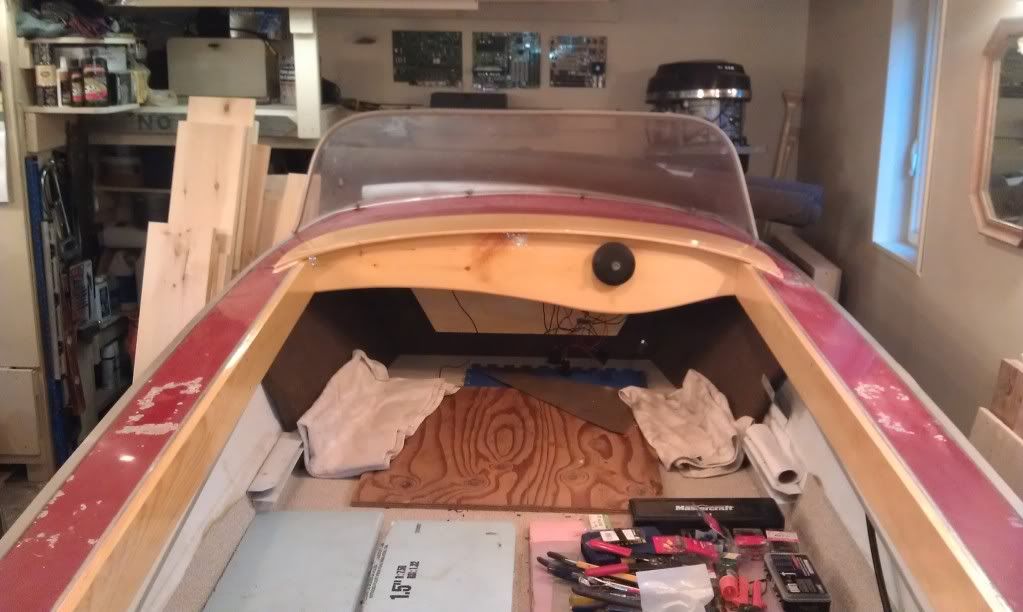
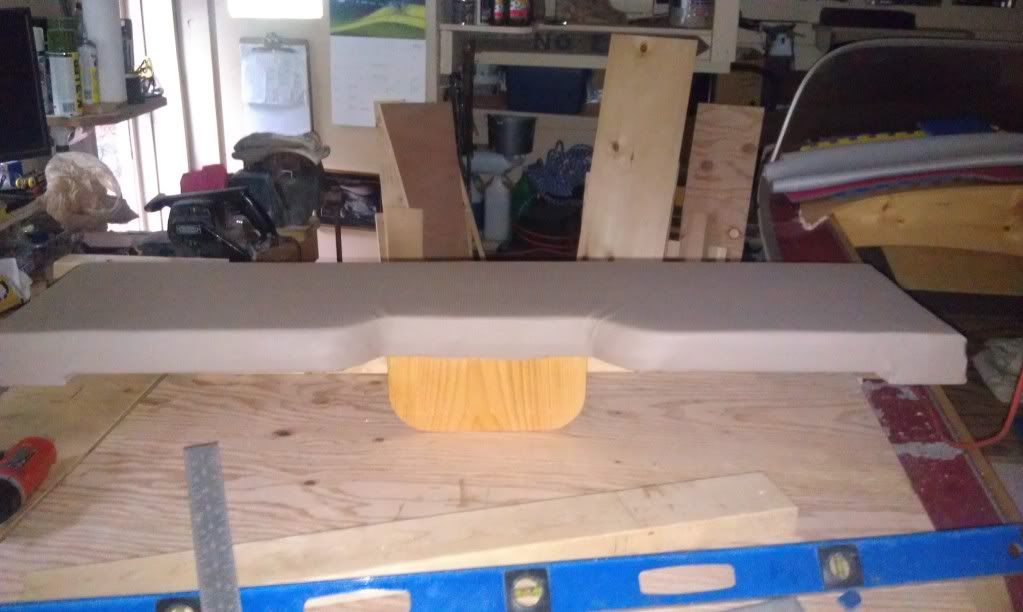
Also sanded and spared the dash pad gunwale curves.... the white 4200 will be painted over... so no worries there.


Also made a switch panel for the switches and lighter socket. I attached some pieces of wood up under the bow to mount the switch panel and the buss bars for the electrical. Also ran the main + and - to the bow and got about 1/2 of the wiring done --- so good shape there.


So overall, made some decent progress today. When I am back from the lake, I will finish up the wiring and then get to work on the seats and sun deck. Should get interesting!!!!

Have a great weekend fella's

J.
 

Grandad

Lieutenant Commander
Joined
Jun 7, 2011
Messages
1,504
Re: 1964 Starcraft Jet - Rebuild

Alrighty fellas.... Got out to the boat at the crack of 4:00am today and got a pile of stuff done! Heading to the lake today.... so had to get some stuff done early!! J.

Holey smokes, man! That's a month's work for some of us retired folks. Why not just stay up tonight so you can splash this thing by noon tomorrow. Nice progress. - Grandad
 

boatbeginner1

Petty Officer 1st Class
Joined
Jun 17, 2012
Messages
311
Re: 1964 Starcraft Jet - Rebuild

WOW! You've made some great progress. I really like the dash...ideas ideas:joyous: Keep it up, your almost there!
 
Last edited by a moderator:

classiccat

"Captain" + Starmada Splash Of The Year 2020
Joined
Dec 20, 2010
Messages
3,412
Re: 1964 Starcraft Jet - Rebuild

You were a busy man Jim!

The dash and gunwale wood adds touch of class! I dig the look of that dash pad...really sharp!
 

InMotion

Commander
Joined
Nov 3, 2011
Messages
2,080
Re: 1964 Starcraft Jet - Rebuild

BB and Dozer and BF ----

Thanks fellas! Chipping away at it now!

J.
 

InMotion

Commander
Joined
Nov 3, 2011
Messages
2,080
Re: 1964 Starcraft Jet - Rebuild

Ok... hit a milestone this morning! Officially moving on to constructing the seats and sun deck! So here is what happened last night and very early this morn:

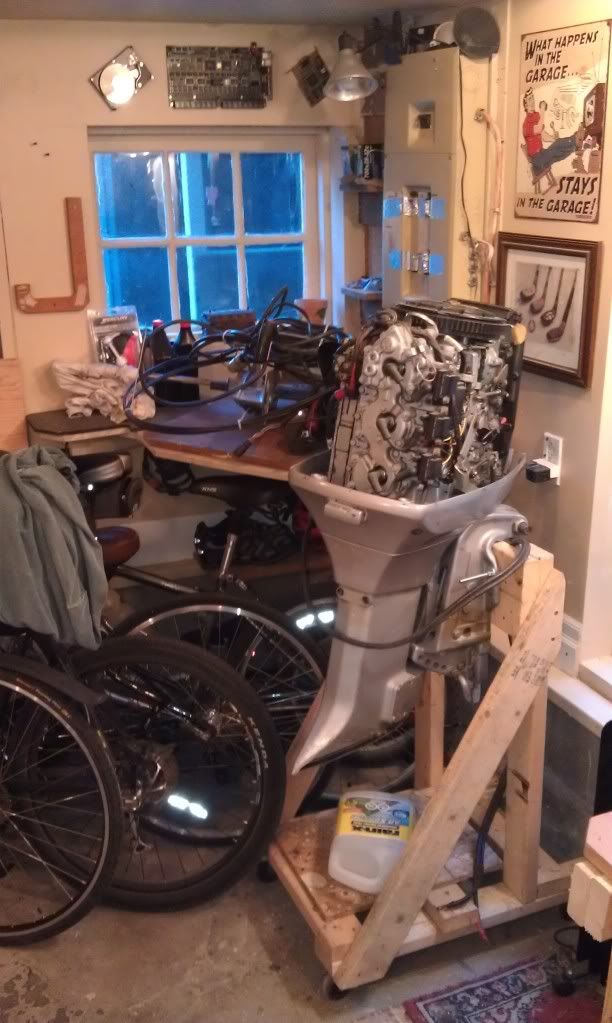
Carried the 60 from the side of the house into the garage... bit of beast but managable. I didn't have my buddies hoist... so I carried it to the garage and then fab'd up a quazi beam in the garage and used a winch to lift up onto the stand. This one is going up for sale next week.


Got the steering rack installed and connected:


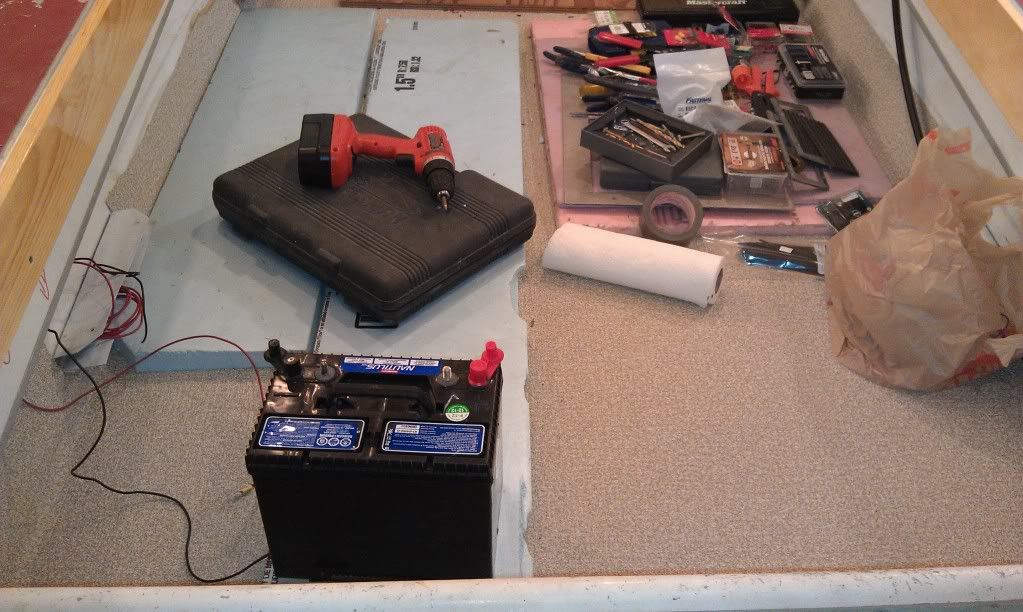
Got the electrical completed and tested --- just need to put the switches in the panel I am sparring and screw the panel to the brace up under the dash. Funny thing was that at 4:30am this morning, I hooked up the battery, started making sure the lights and bilge worked and accidentally pressed the horn switch with my knee with my head about 6" from the horn! I was awake after that!!!


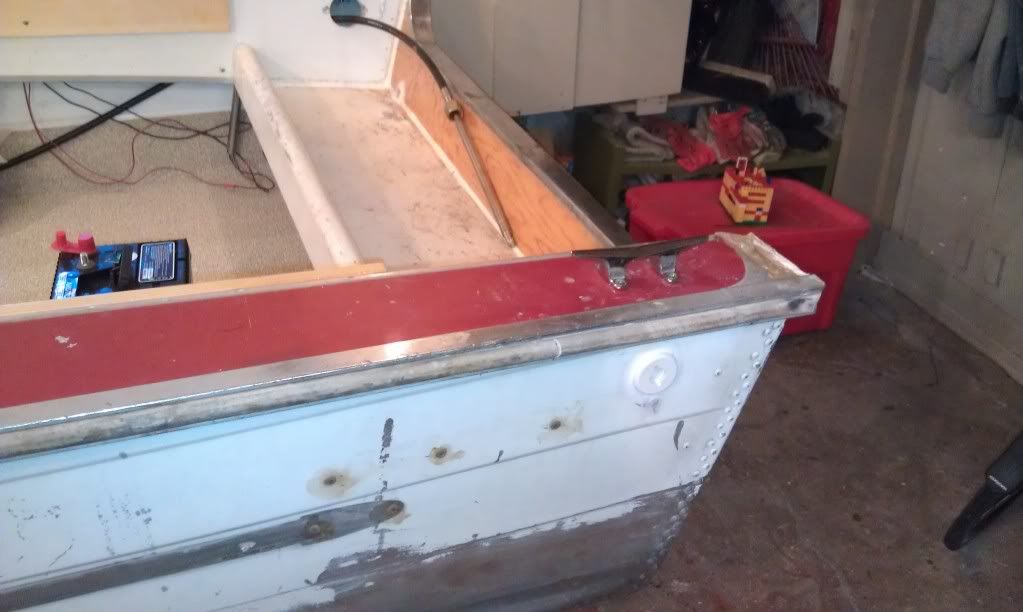
Got the bilge drain installed and hose attached:


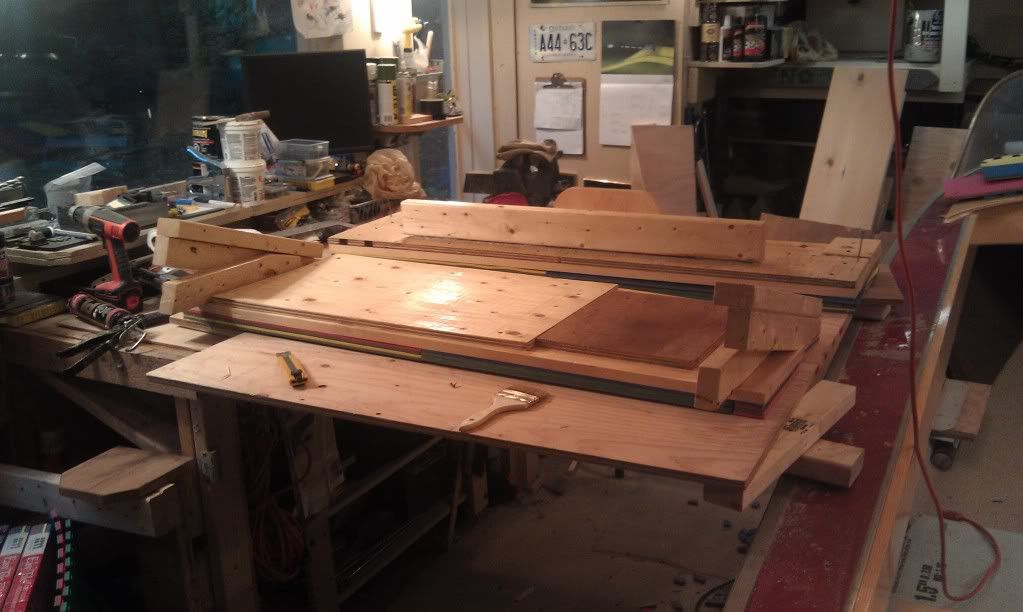
Got another coat of spar on the dash pad, elec. panel and this:

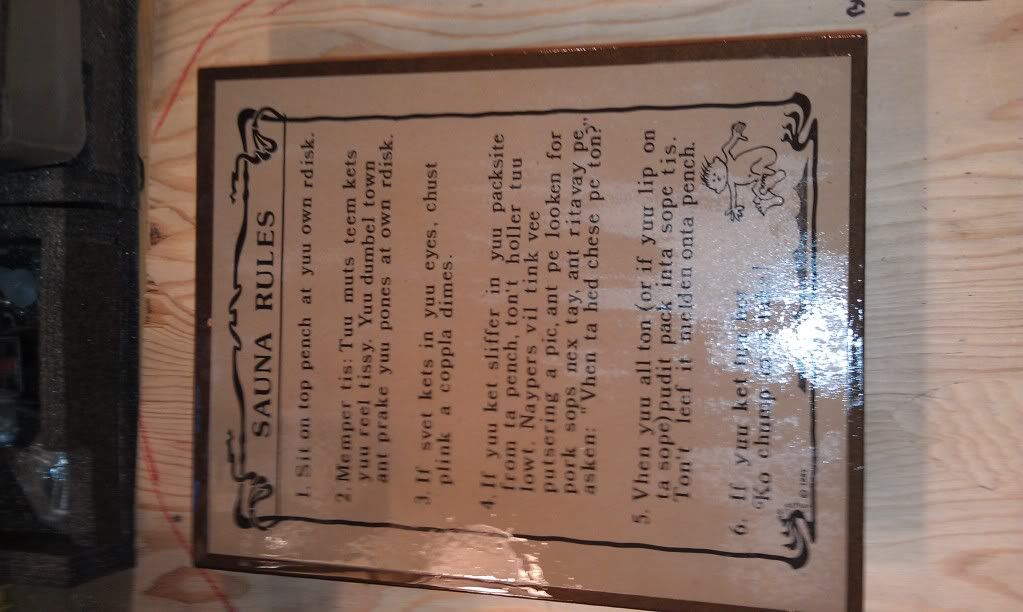
Key rules to remember in a sauna!

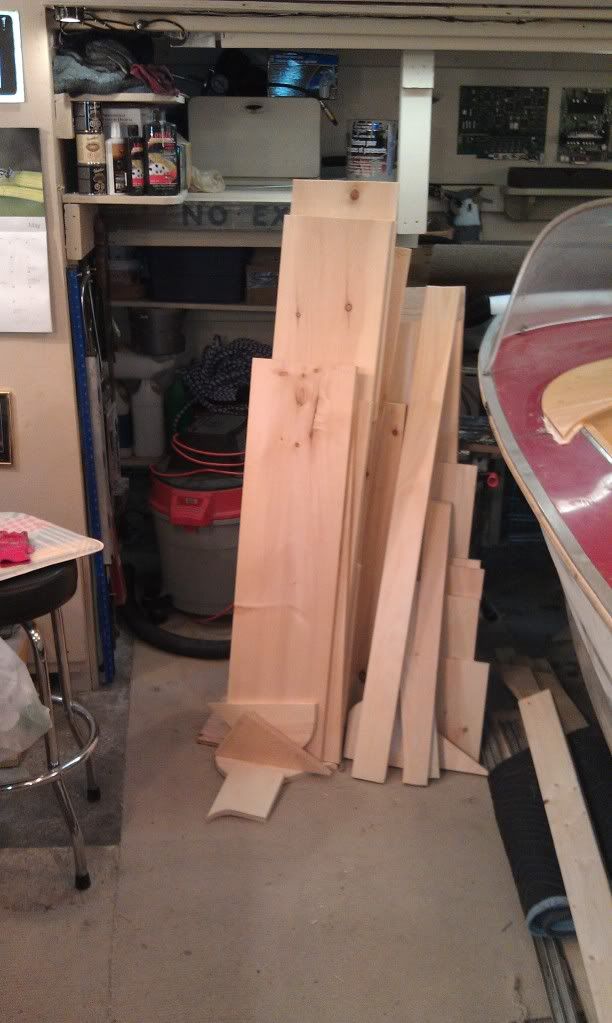
So, ready to move onto this pile:


So here is the grouped short list:

- Fabricate Seats and Sun deck
- Fabricate Side panels
- Fabricate 2 splashwell gunwale side pieces
- Spar above
- Fabricate seat bottom and back pads and install
- Paint boat
- Sand/clean windshield and install + Screw in front bow light
- Paint trailer
- Load boat on trailer
- Pickup motor
- Install motor

Prolly some more... but that is really the highlights. So tomorrow is seats. Let's see how it looks then!

Have a great day fella's.

Jim
 

dozerII

Admiral
Joined
Oct 25, 2009
Messages
6,527
Re: 1964 Starcraft Jet - Rebuild

Morning Jim, gotta love it when you get down to the point you can make a list that not two pages long on what's left.
 
Last edited by a moderator:

classiccat

"Captain" + Starmada Splash Of The Year 2020
Joined
Dec 20, 2010
Messages
3,412
Re: 1964 Starcraft Jet - Rebuild

Man, that's a sweet 3cyl right there! too bad you're getting rid of her :violin:

I hooked up the battery, started making sure the lights and bilge worked and accidentally pressed the horn switch with my knee with my head about 6" from the horn! I was awake after that!!!
...and I bet productivity increase 150%!

Key rules to remember in a sauna!
Translation please! :lol:

great stuff Jim!
 

InMotion

Commander
Joined
Nov 3, 2011
Messages
2,080
Re: 1964 Starcraft Jet - Rebuild

Morning Jim, gotta love it when you get down to the point you can make a list that not two pages long on what's left.
Thanks Glen... ya it is a nice feeling for sure!!! Still got a few subsections in that list though.... but it is getting shorter every week!

J.
 

tgp***

Senior Chief Petty Officer
Joined
Oct 18, 2009
Messages
768
Re: 1964 Starcraft Jet - Rebuild

Nice progress on ride! looks great. Wish mine was that far along.
 

InMotion

Commander
Joined
Nov 3, 2011
Messages
2,080
Re: 1964 Starcraft Jet - Rebuild

Man, that's a sweet 3cyl right there! too bad you're getting rid of her :violin:


...and I bet productivity increase 150%!


Translation please! :lol:

great stuff Jim!

Thanks BF! Ya for sure i was awake after that blast! Got things rollin' after that!!

Gotta kinda read it literally... once you figure it out --- it is rather amusing! :)

J.
 

InMotion

Commander
Joined
Nov 3, 2011
Messages
2,080
Re: 1964 Starcraft Jet - Rebuild

Alrighty fellas... go most of the wood cut and ready for assembly for the front seat! Plan is tomorrow am to rough fit it and take some pics. Tomorrow eve I will pick up the foam and then Friday vinyl the seats and get them installed prolly Sat.

I also will pickup some wood for the back sun deck and begin working on the back seat and sun deck this weekend

BF --- gotta get that 60 hp rude out of the way before the I pickup the 50 hp jonny! 60 is just to large for that boat --- man would it fly though!

Have a great eve fellas!

J.
 

dozerII

Admiral
Joined
Oct 25, 2009
Messages
6,527
Re: 1964 Starcraft Jet - Rebuild

Jeesh, I can see the smoke from out west, once you get rolling get out of the way. The disk should get to you tomorrow Jim.
 

InMotion

Commander
Joined
Nov 3, 2011
Messages
2,080
Re: 1964 Starcraft Jet - Rebuild

Jeesh, I can see the smoke from out west, once you get rolling get out of the way. The disk should get to you tomorrow Jim.

Thanks Glen and 64!


Thanks for the disk Glen!!!

Jim
 

InMotion

Commander
Joined
Nov 3, 2011
Messages
2,080
Re: 1964 Starcraft Jet - Rebuild

Ok got some work done again the last day and half or so...

Made the seat back and bottom for the front --- they are upside down:


May not look like much --- but it is glued and screwed and sparred to death! Not sure to be honest, if I have the skills to be a seat builder.... much more difficult than I expected for sure! But... I am doing the best I can here...

So here is a pic of the seat base...not the best pic... but hopefully you will get the idea. I re-did the front of the seat 4 times to try to get the couple of wrinkles out --- but no luck. I was really reefing on the vinyl ---- to the point I thought I would tear it. Curves are toughies for sure!! Looking at the front of it:


Tomorrow am I am going to vinyl the seat back, and install both. Then I am going to get the dash pad cut and installed and the seat back as well.

The electrical panel is also all installed.

Next up is the front side pieces... I needed to have the seats in place first before I did these as the side pieces need to be removable!

Have a great day fella's!

Jim
 
Top