Bayliner Capri unintentional restoration project

jmmacky

Petty Officer 2nd Class
Joined
Jun 20, 2011
Messages
177
Re: Bayliner Capri unintentional restoration project

Hello again all,

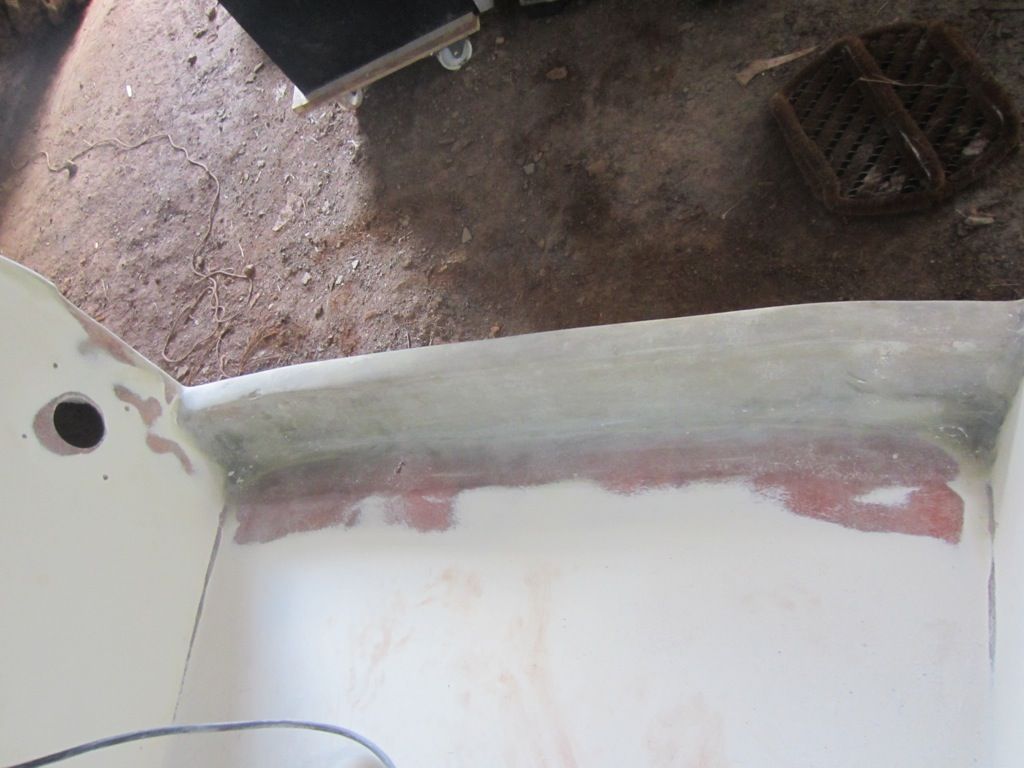
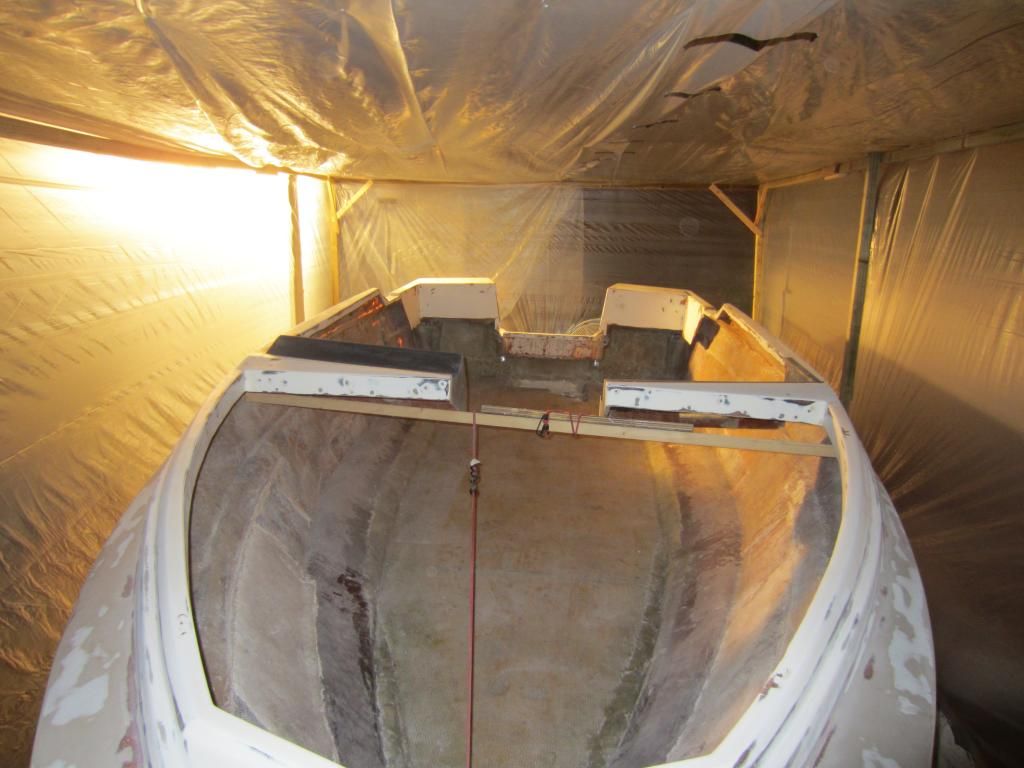
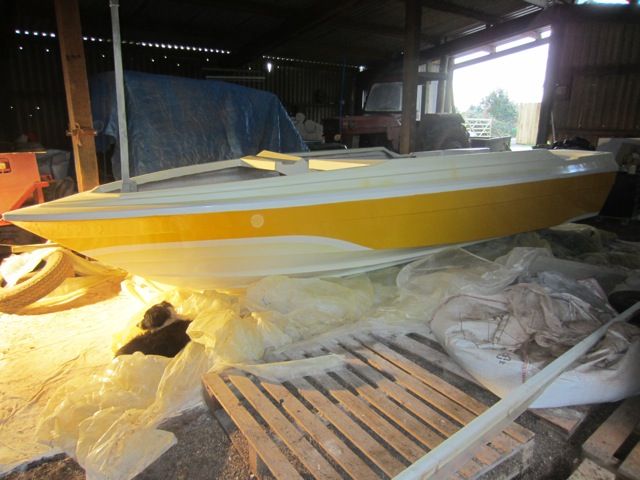
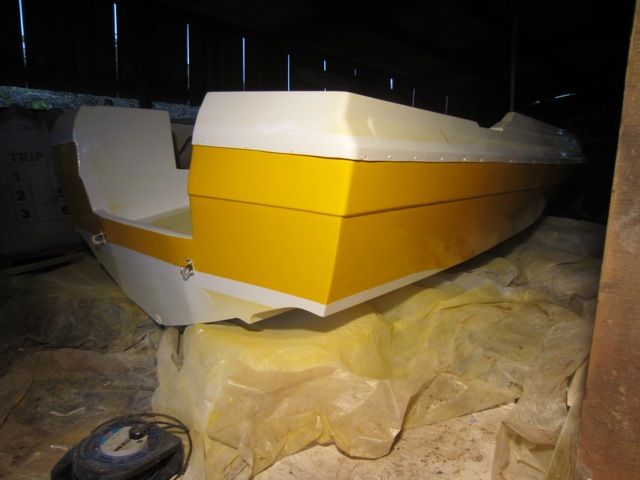
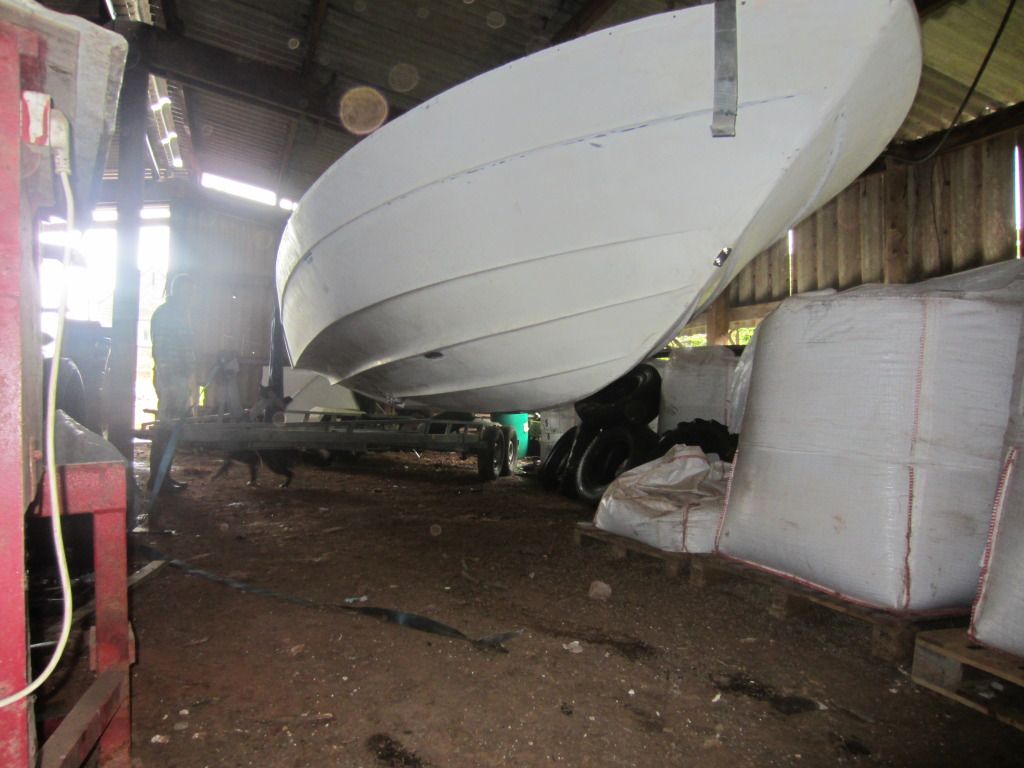
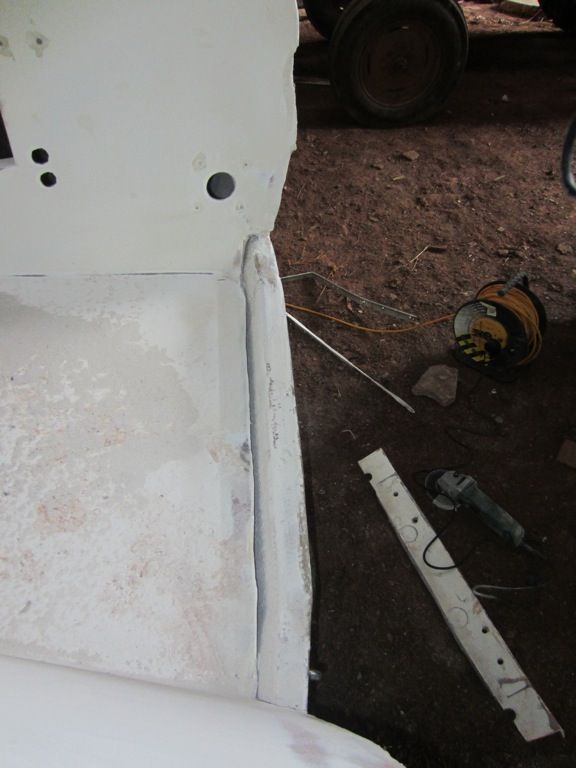
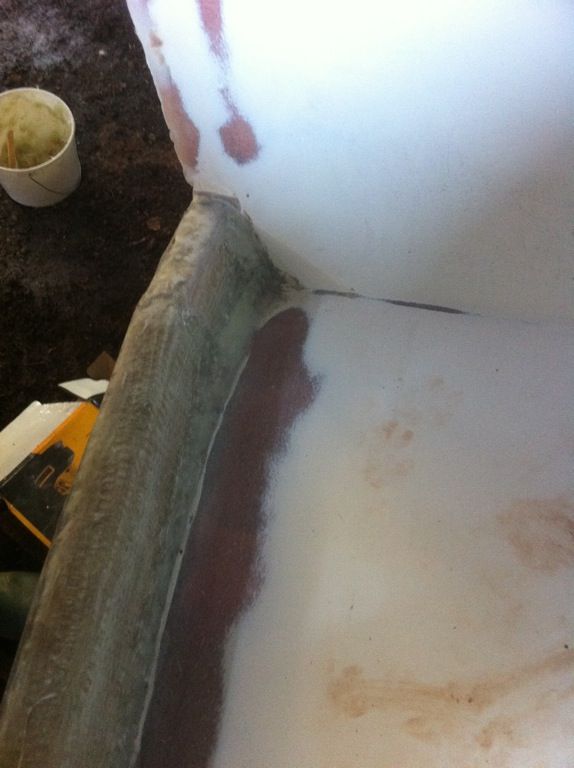
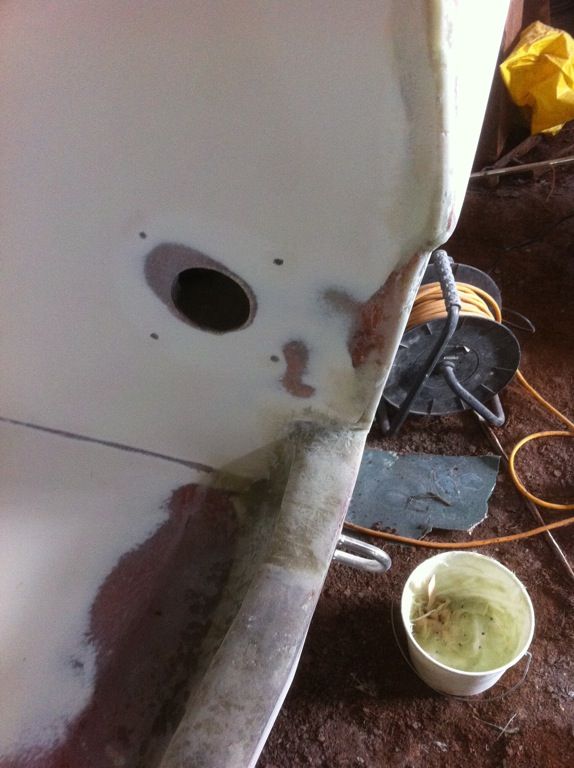
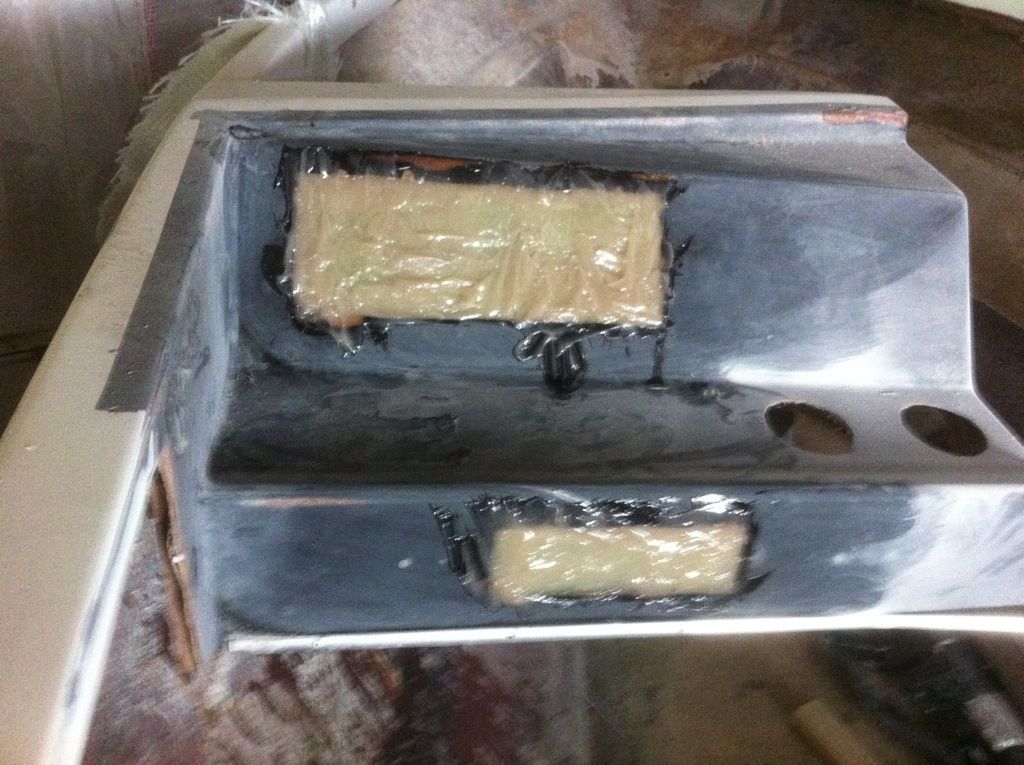
After a year of not being able to do any of my hobbies or work on my boat due a a job taking over my life I am finally able to get back to it. The boat has been moved to another new home in Devon (UK). This week I have got everything unpacked and taken the cap back off the hull for filling and fairing.

My plan was to flip the hull and fair, sand and paint the cap and hull separately before putting them back together. I have been thinking about this a lot...

The hull is big (21' long) and heavy following replacement of the deck, transom, stringers, bulkheads, flotation foam etc. The problem with flipping the hull is that I have limited open space in the barn it is now in so I would have to do it outside then move it back in or do it mid-air. To do it in mid-air I would have to build a massive gantry (which would be expensive due to the timber or get hold of 2 fork-lift trucks) and I'm worried something would go wrong and damage all the work I have already done to the hull, also I would have to flip it back over again after painting and avoid scratching it. I've considered rolling it and bracing the top of the hull with timber to prevent damage but think I would still scratch/crack the outside of it during the rolling process.

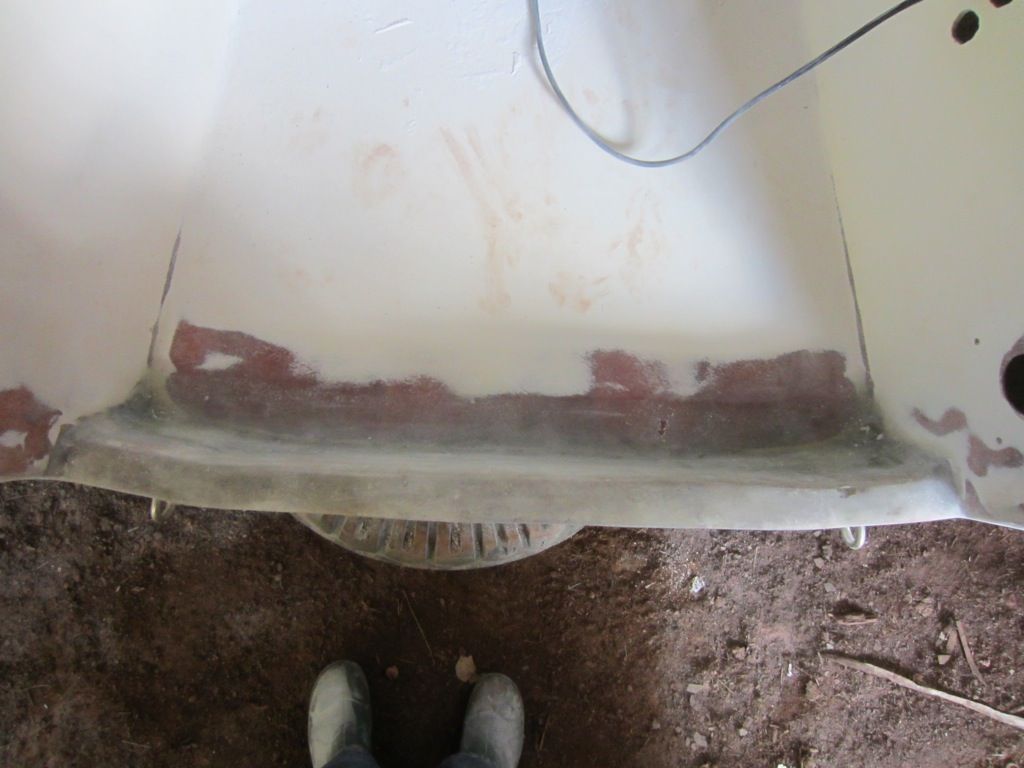
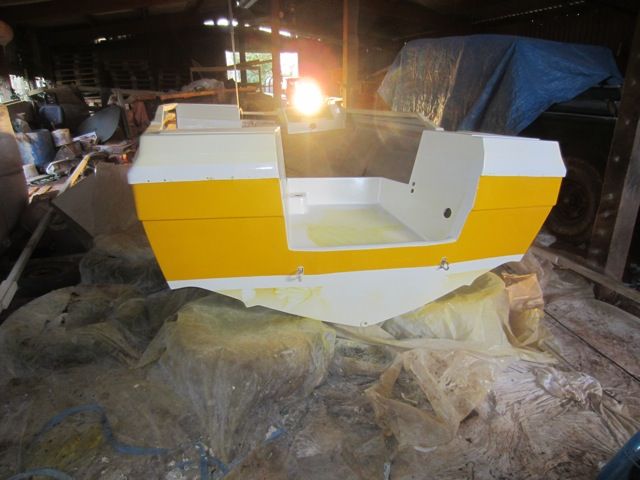
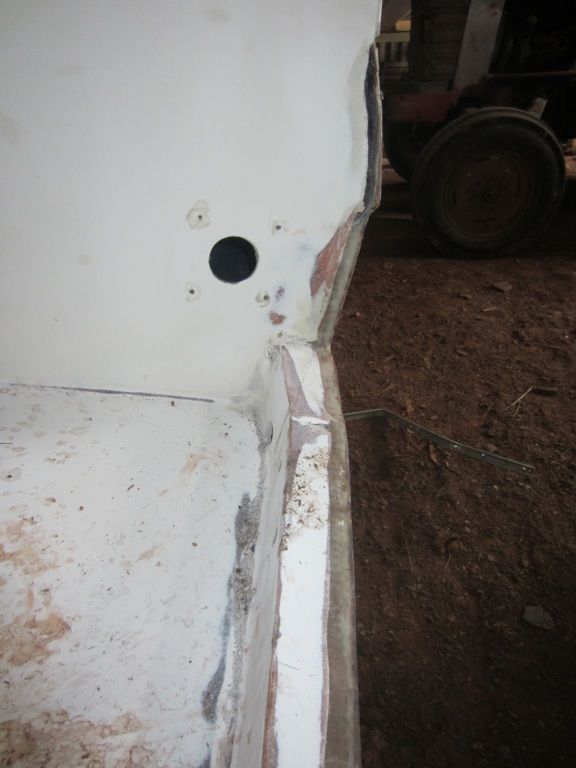
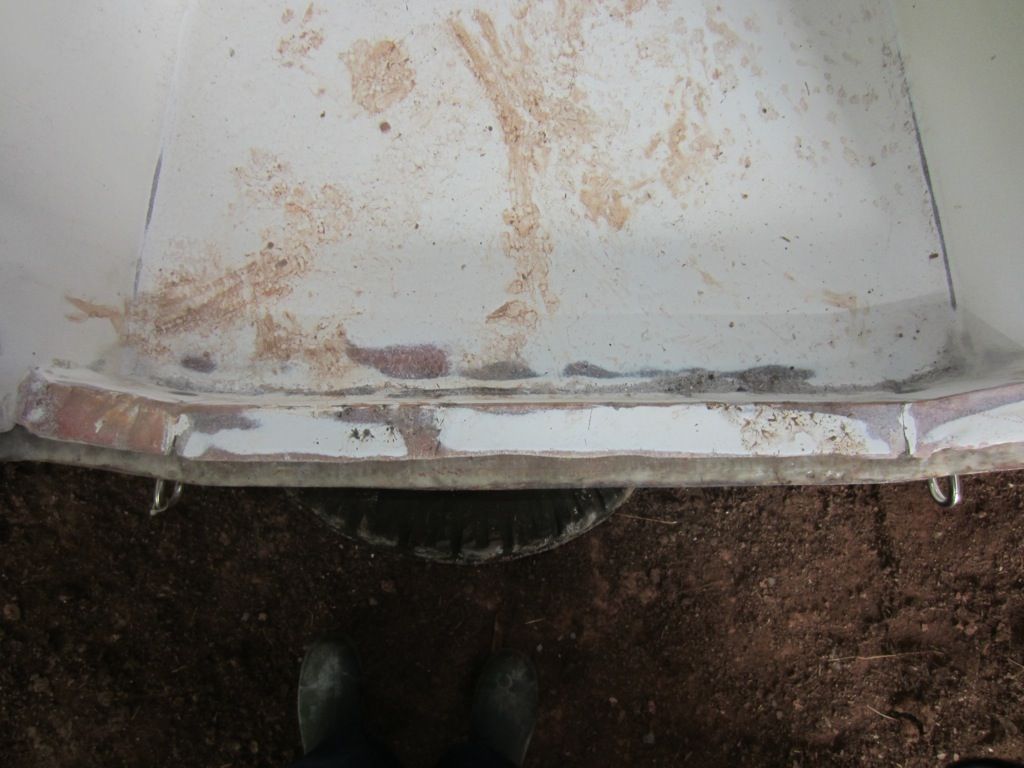
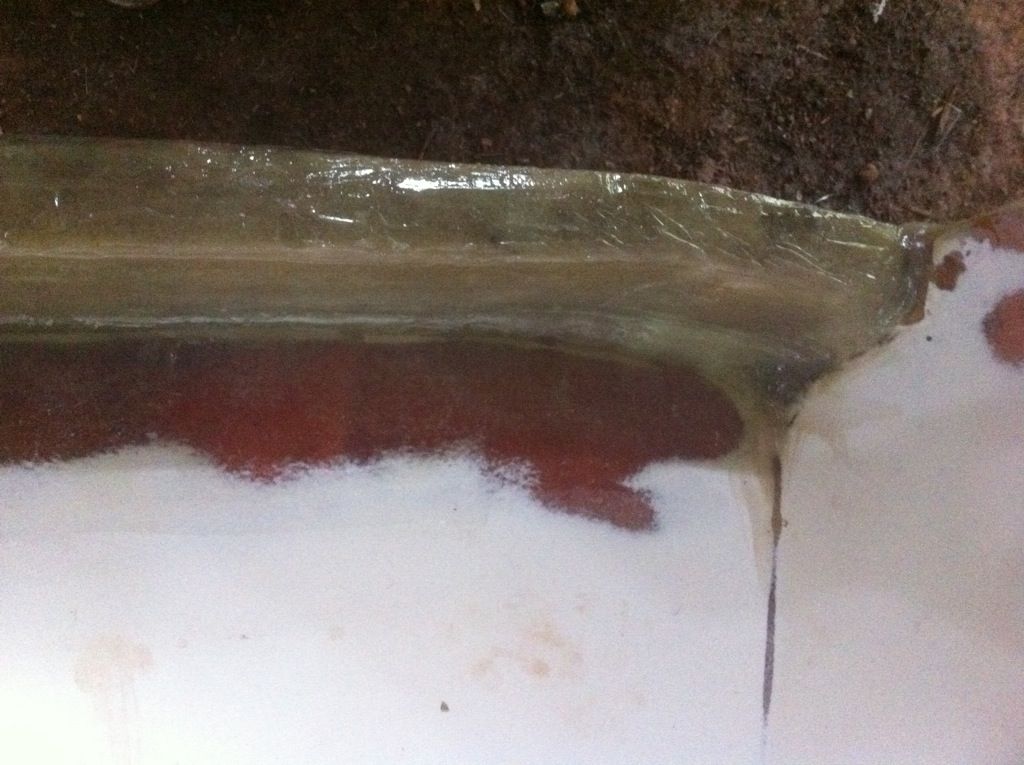
Additionally the cap is big and flexible. It already is cracked badly in the weak areas where it flexes the most. I could brace this with wood but would have to flex it to force it back into place on the hull. Also, the new transom is thicker than the old one so the cap doesn't quite fit at the back anymore and will need altering later.

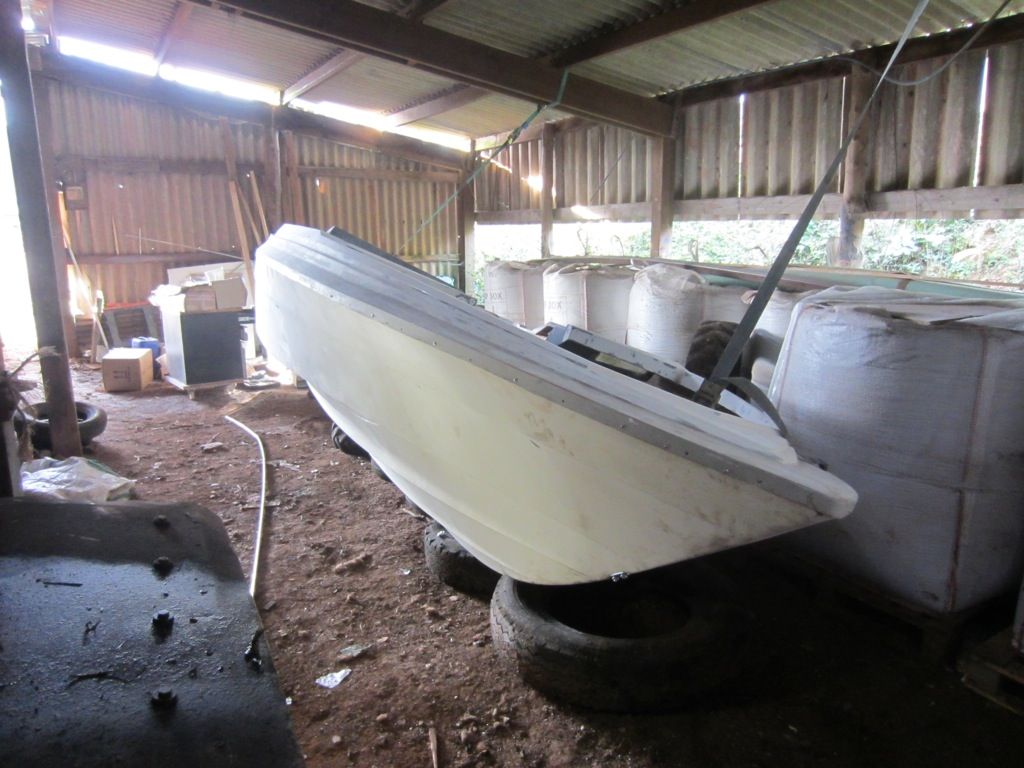
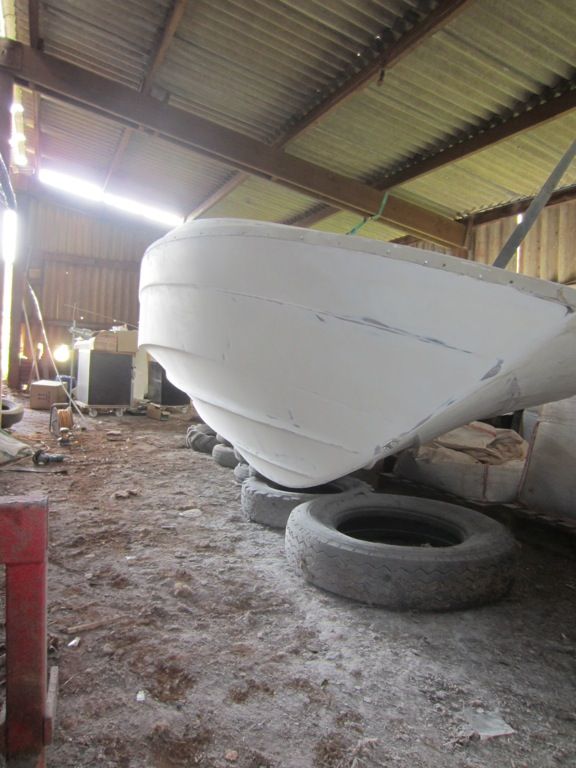
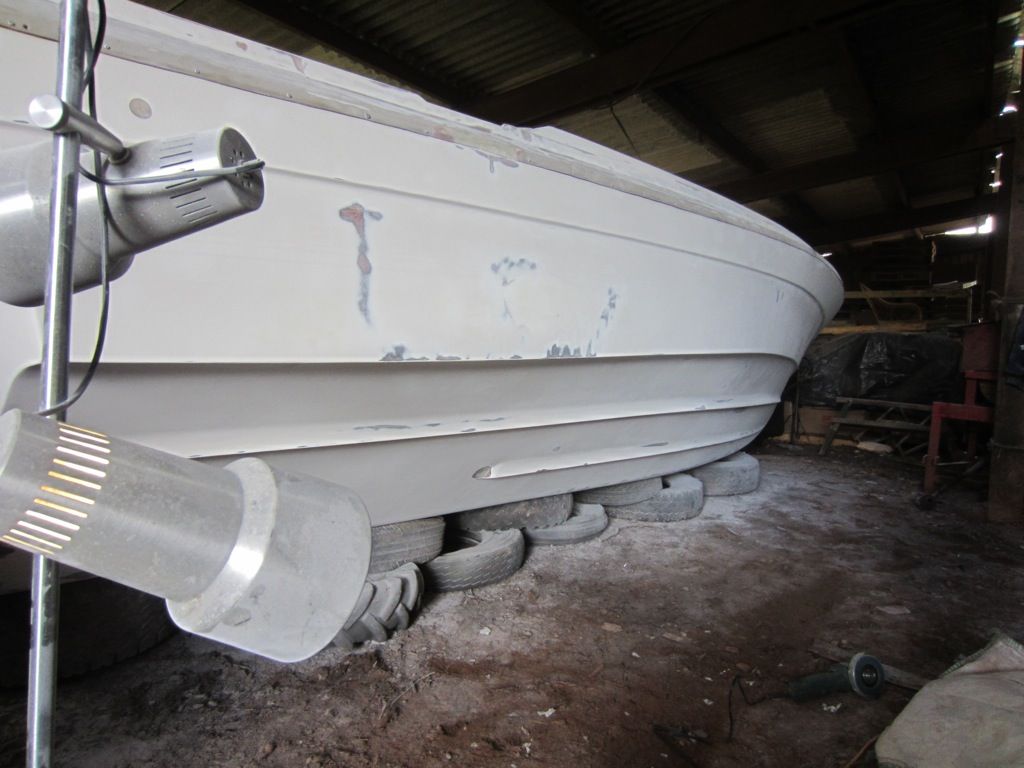
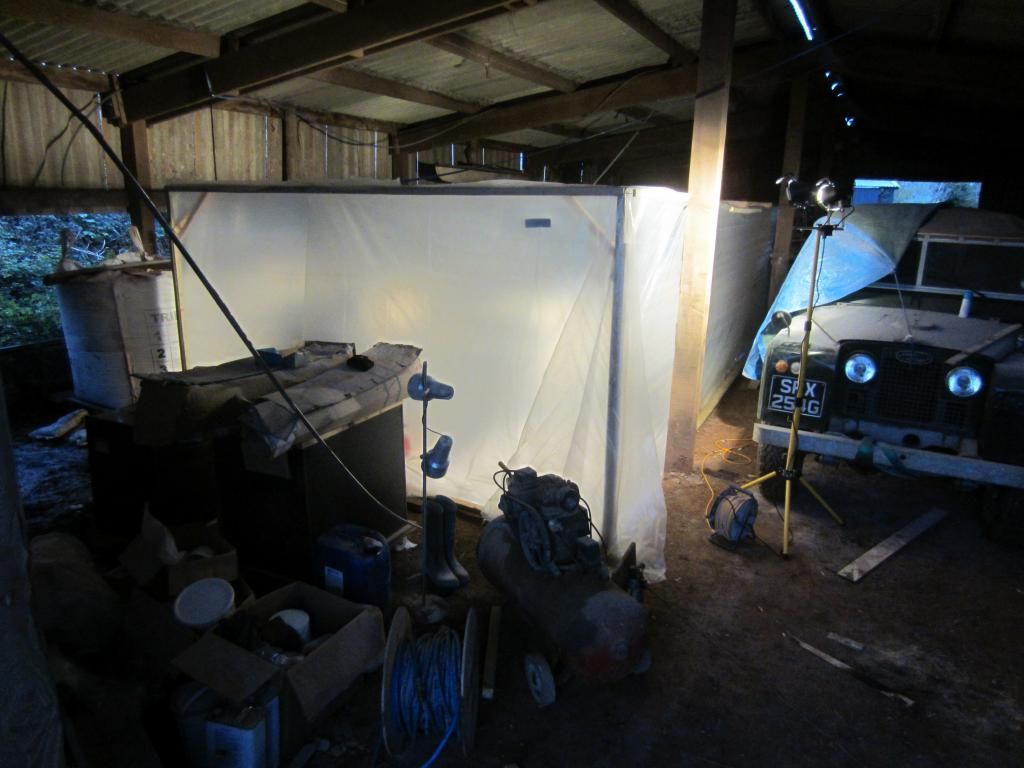
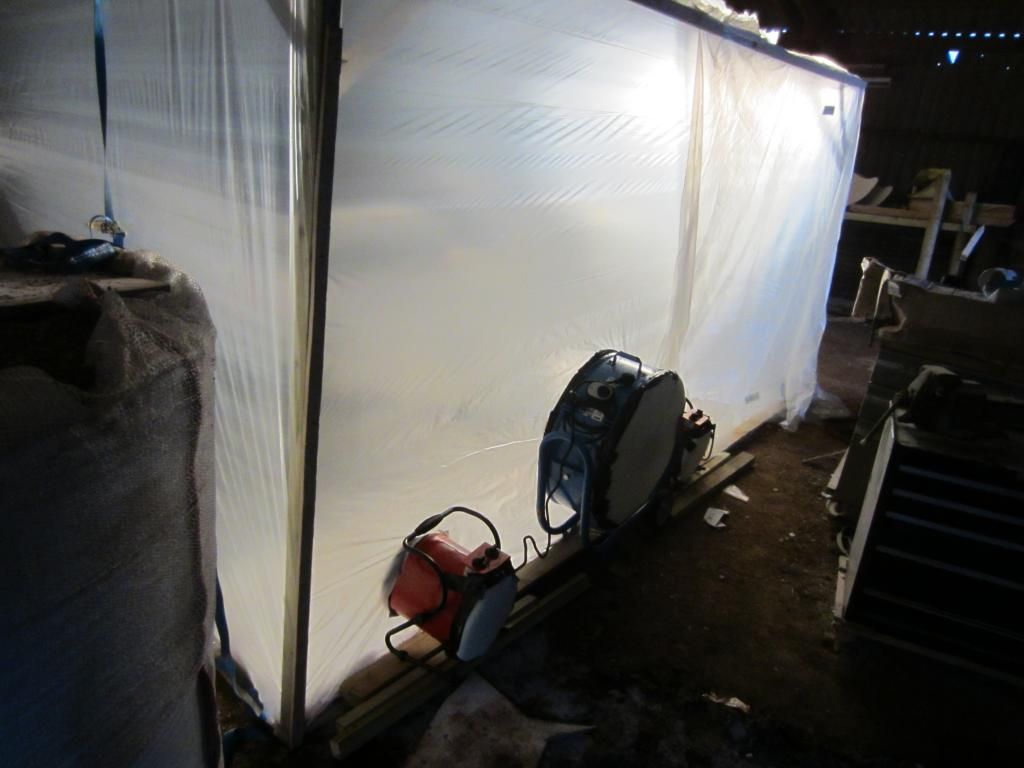
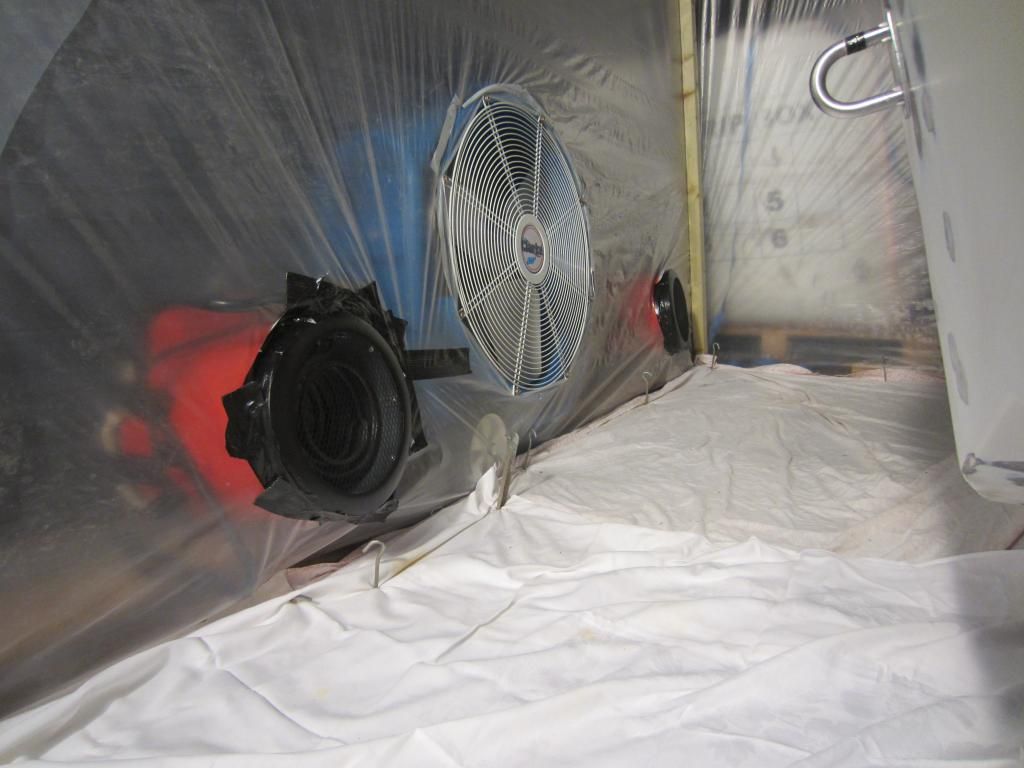
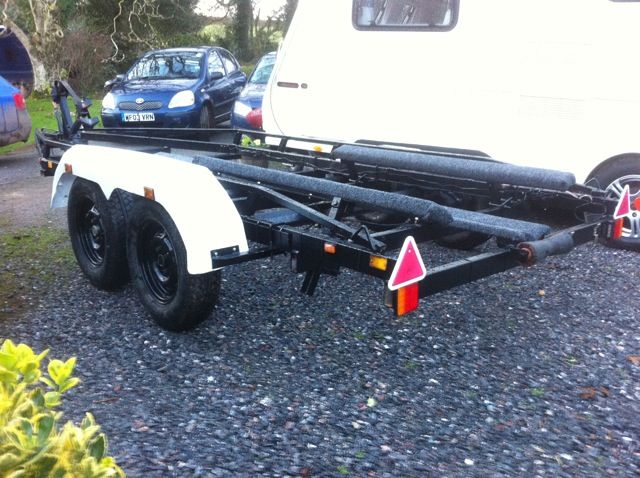
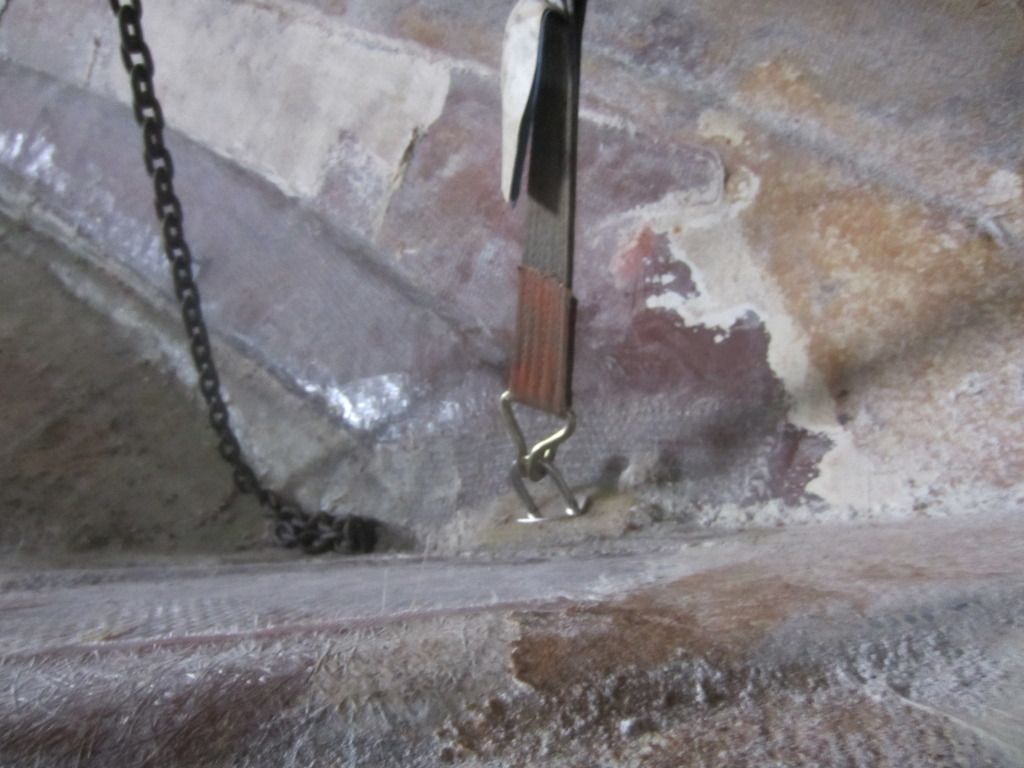
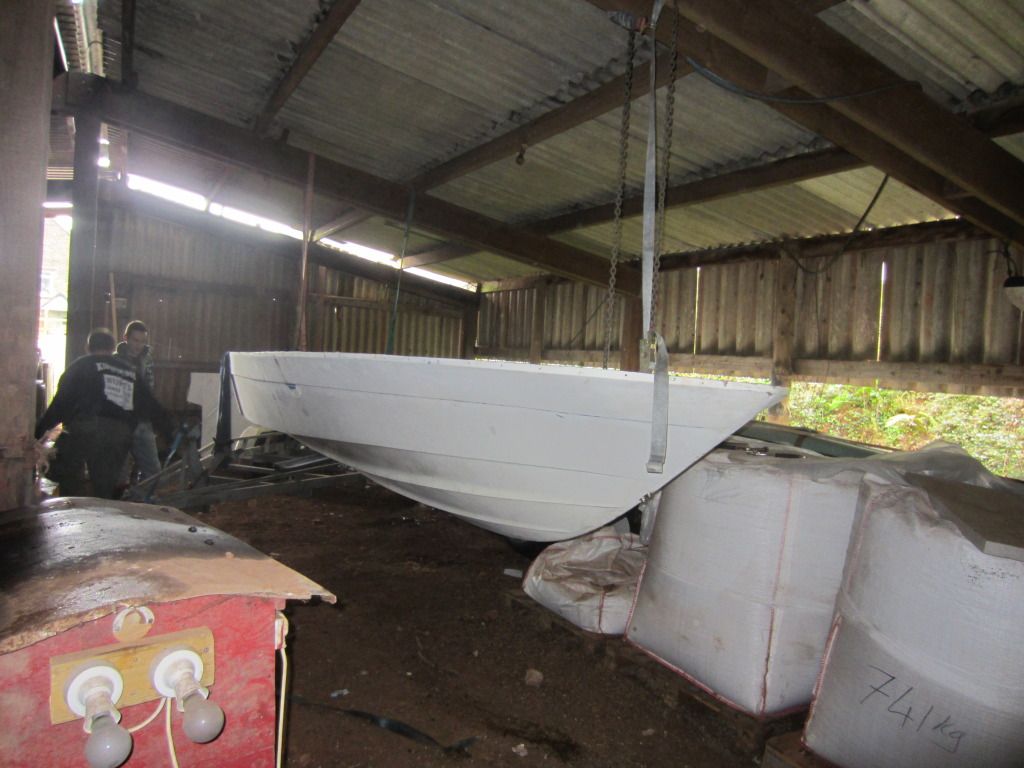
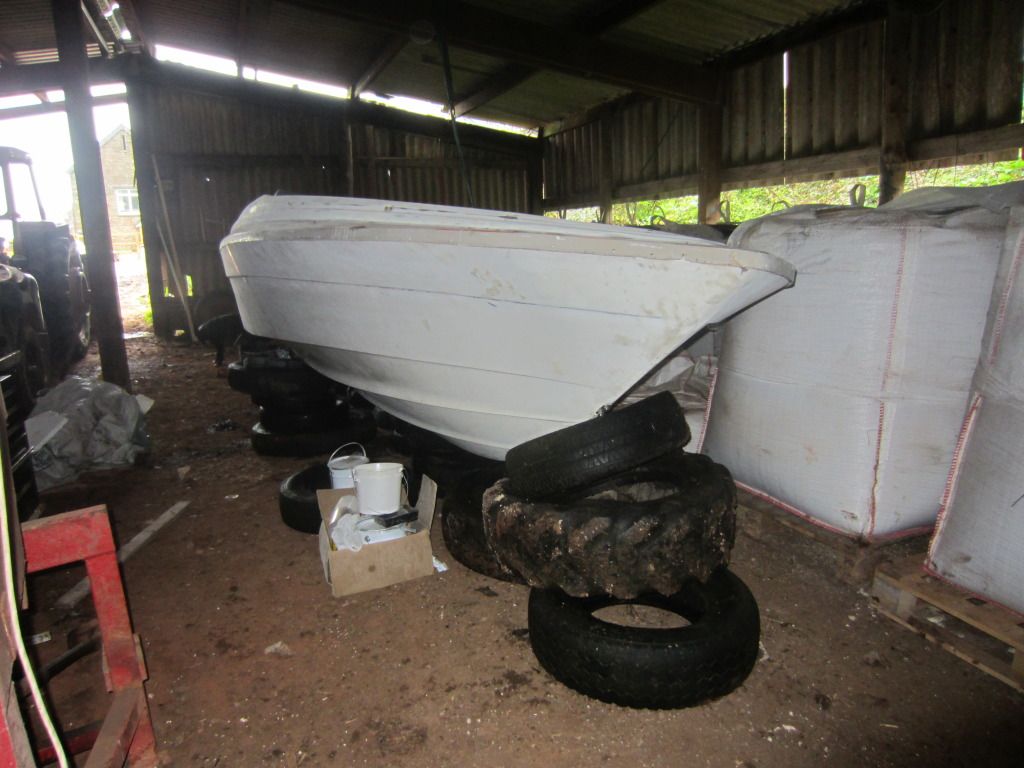
So my new plan as of this evening is to pull the hull off the trailer onto some old tyres as I have seen others do. I'll then put the cap back on and roll the whole thing to one side or the other using straps in order to fill, fair and paint. This should keep the cap stabilised and mean can fit the cap to the stern on the hull during fairing and filling so that I only have to paint once. I remember another thread where someone did a really nice job tipping the hull on it's side when it was on the trailer but can't remember who it was now? I'll have to get in the boat to deal with some of the cap and the hull will not be well supported on the sides but I think it should be fine as the new deck is fully fibreglassed? I'm just waiting for some new U-bolts to arrive now to put through the transom to enable me to get it off the trailer.

I'm afraid progress won't be as quick on this project as I would like because I'm going to be working about 300 miles away during the weeks.

Finally, without all the information and help from members of iboats I would never have even got this far so thanks to everyone, I really appreciate it. I hope I can repay iboats with a completed project one day! James
 

jmmacky

Petty Officer 2nd Class
Joined
Jun 20, 2011
Messages
177
Re: Bayliner Capri unintentional restoration project

So I finally managed to get the boat off the trailer (with the help of a couple of mates). I re-installed some new U-bolts (although I won't seal them properly in place until after painting). I put the bow U-bolt in the wrong way round allowing me to use it as a lifting eye more easily:

IMG_0426.jpg


Using some big beams in the barn we were able to gradually lift the boat off the trailer using ratchet straps and hand lifting until it was suspended in the air:

IMG_0424_zps298b2334.jpg


IMG_0425.jpg


We were then able to move the trailer out and put the boat down onto some old tyres.

IMG_0429.jpg


My plan is to lean the boat right over to one side and then the other while it's supported on tyres to get all the fairing and painting done. I am going to get the trailer fixed up while the boat is off it as well (the brakes aren't working for starters as I found out last time I moved the boat, which was 300 miles!).
 

jmmacky

Petty Officer 2nd Class
Joined
Jun 20, 2011
Messages
177
Re: Bayliner Capri unintentional restoration project

Also I've learnt how to post big pictures!
 

jmmacky

Petty Officer 2nd Class
Joined
Jun 20, 2011
Messages
177
Re: Bayliner Capri unintentional restoration project

I had some time to work on the boat last weekend and managed to make a bit of progress. My new transom is thicker than the old one which meant that the cap no longer fitted at the back because the splashwell has a lip that goes over it. The following pictures show how this stopped the cap sitting in place correctly at the stern.

file_zps903665bf.jpg


file_zps48ac03ff.jpg


I cut the splashwell lip off with my angle grinder so that the cap fitted over the stern as it should.

file_zps75a9f76c.jpg


The next picture shows how the transom U-bolts are very close up under the splashwell so I needed to clear these with the repair so I could take them out again during the painting process.

file_zpscc0856b8.jpg


I cut some pieces of cardboard to the right size and covered them in foil, then wedged them in the gap between the splashwell and transom. I then mixed up some PB with chopped fibres and filled in the gap.

file_zps40375922.jpg


file_zpsad13fcca.jpg
 

jmmacky

Petty Officer 2nd Class
Joined
Jun 20, 2011
Messages
177
Re: Bayliner Capri unintentional restoration project

I sanded off the rough patches when it had dried, replaced the lip with a layer of CSM, sanded this down and then applied some smooth PB (silica and talc) to try and get a nice finish, although it will need some more sanding.

file_zps0782c19b.jpg
 

jmmacky

Petty Officer 2nd Class
Joined
Jun 20, 2011
Messages
177
Re: Bayliner Capri unintentional restoration project

Inbetween doing the splashwell repair I filled a couple of holes in the port side dashboard area. There was a couple of cheap plastic things in these for storage. I'm going to replace them with better ones and maybe a radio so thought I should start with a blank surface so the new bits fit nicely. I covered some wood in foil and taped them over the holes so I had something to fibreglass against.

file_zps2f8c2991.jpg


file_zpse39a759c.jpg


file_zpsb63ce968.jpg


Into each hole I glassed a piece of my stitch matt (similar to 1708) with a larger piece of CSM over the top. Waited for it to dry and removed the wood.

file_zps5a0eca7a.jpg


I sanded this off and mixed up some smooth PB to fill in the gaps. I will sand it off flush with the rest of the dash once it is dry.

file_zps1caf5178.jpg
 

Woodonglass

Supreme Mariner
Joined
Dec 29, 2009
Messages
25,929
Re: Bayliner Capri unintentional restoration project

JM,

FYI, using Talc in you filler mix is somewhat controversial. Talc will absorb water to some degree so using it as a filler is not really desirable. If you could just use silica or what we in the states call cabosil or aerosil, it would, IMHO, be a much better mixture. You're doing some nice work!!!;)
 

jmmacky

Petty Officer 2nd Class
Joined
Jun 20, 2011
Messages
177
Re: Bayliner Capri unintentional restoration project

Ok, thanks Wood, I hadn't realised that. Slightly worrying to hear! Fortunately, I haven't used it for any structural stuff just cosmetic. I was thinking about ordering some glass bubbles to use instead anyway so think I'll do that and mix it with the cabosil for making smooth filler. Thanks for the hint.
 

jmmacky

Petty Officer 2nd Class
Joined
Jun 20, 2011
Messages
177
Re: Bayliner Capri unintentional restoration project

Many many hours were spent sanding this weekend! The entire starboard side of the hull and stern were sanded down with 80 grit level using my random orbital sander. The cap is now secured in place so I am tilting the boat in order to sand, fill and paint.

file_zps0d4fad93.jpg


After sanding:

file_zps27d2523d.jpg


file_zps9ed201c4.jpg


I made up some smooth filler using cabosil and glass bubbles this time which is really nice to work with. At the end of the weekend I then went round and filled all holes, indentations and undulations with the filler which I will sand down next time I have a chance to do some more work on it.

I also sanded off the stern where I re-attached/repaired the cap last time and I'm really pleased how this has come out. There was a couple of small areas I have now added more filler to but I think it will look pretty seamless after painting...hopefully!

file_zps4d7fcd15.jpg


file_zps415647cf.jpg


I sanded and added extra filler to the dash area repair as well but forgot to take any photos.

Next time I plan to sand off the filled areas and then repeat the process on the other side. I think I'm then going to make a kind of tent around the boat to reduce dust and that I can heat (as coming into winter here now). I have a plan for the painting which I will share shortly...!
 

jmmacky

Petty Officer 2nd Class
Joined
Jun 20, 2011
Messages
177
Re: Bayliner Capri unintentional restoration project

No work on the boat this weekend unfortunately as I am away working. However, I have decided on my paint system and placed an order for the stuff to get started. After seeing the serious hard work involved in gel coating from other threads and the fact that spray gel coat isn't readily available over here I was looking round to see if there was another way. At one of the big boat shows in the UK I saw an example of a poorly prepped piece of fibreglass that they had used Nautix HPE (high build epoxy) followed by the paint and it seems to give a really nice finish. So I have decided to give this a try and hopefully on top of my fairly well prepped hull I will manage to get a half decent finish. I haven't seen anyone else on here using this kind of system but the plan is to spray 3 coats of the HPE initially, then an epifanes epoxy primer followed by epifanes 2-part paint; sanding with gradually finer grits as I go through the coats.

I've started to get hold of the stuff to make a temporary paint booth so hopefully I will be able to get started with the base coats in the next few weeks.
 

Alwhite00

Master Chief Petty Officer
Joined
Apr 14, 2011
Messages
885
Re: Bayliner Capri unintentional restoration project

You are doing a great job on that boat, Everything you have done is top notch. You also seem to listen to the experts on here also, Some people on here do not like to do that and wonder why something does not work. You should send pictures to Bayliner so they can see how it is supposed to be done. :)

LK
 

jmmacky

Petty Officer 2nd Class
Joined
Jun 20, 2011
Messages
177
Re: Bayliner Capri unintentional restoration project

Haha thanks LK! I don't think much other than the shape of the hull is going to resemble the original Bayliner by the time I'm finished with it! I recognise that a lot of people on here have a lot more knowledge and experience than I do so try to learn what I can from there threads and apply it my own build. Without these forums I would not have even known where to start so really appreciate the valuable help/guidance available here. Thanks for posting!
 

jmmacky

Petty Officer 2nd Class
Joined
Jun 20, 2011
Messages
177
Re: Bayliner Capri unintentional restoration project

I've now finished preparing the boat for painting after a lot of sanding! The entire thing is filled and sanded to 180 grit as per the manufacturer's directions for the high build epoxy. I haven't taken any more photos as there isn't anything exciting to photograph yet. But I'm now making my paint tent and preparing for my first spray paint attempt!
 

jmmacky

Petty Officer 2nd Class
Joined
Jun 20, 2011
Messages
177
Re: Bayliner Capri unintentional restoration project

My spray tent is made! I've just made a basic frame with 2x2 and supported it with some struts. It's not particularly strong but it only has to hold up some plastic sheeting. I attached the plastic to the frame using small nail tacks and then re-enforced this in places with batons of wood I cut from some left over ply. In one end I have inserted a 24" drum fan and 2 fan heaters (winter here) and tape to seal it. The air-intake side of the fans I have covered with thin foam to act as a kind of air filter and the other end I have embedded some large squares of foam to act as a passive air outlet. The barn has a dirt floor so I've put tyres down where the boat is going to need support as I tilt it onto each side (using ratchet straps attached to the rafters through the plastic ceiling of the paint tent) and pegged down dust sheets to cover it. I also have some leftover plastic so this will go down as well. The bottom of the plastic walls are also pegged down with tent pegs. The whole design is very experimental! The idea is to not have anything electrical inside the spray tent, which is why there is no outlet fan. Hopefully I can get a good cross ventilation and keep it at a good enough temperature for spraying.

IMG_0463.jpg


IMG_0465.jpg


IMG_0464.jpg


IMG_0468.jpg


IMG_0471.jpg


IMG_0472.jpg
 

jmmacky

Petty Officer 2nd Class
Joined
Jun 20, 2011
Messages
177
Re: Bayliner Capri unintentional restoration project

IMG_0475.jpg


Hopefully tomorrow is going to be my first attempt at spray painting!
 

jmmacky

Petty Officer 2nd Class
Joined
Jun 20, 2011
Messages
177
Re: Bayliner Capri unintentional restoration project

Sorry I haven't taken any photos today but the spray tent worked a treat! I've managed to get 2 coats of my high build primer down. I prepped the surface by first cleaning with water, letting it dry and then a final clean with acetone before starting spraying. I found it hard to spray such a large area as you have to do it in chunks but I'll wait and see how it dries. Also spraying at the bottom near the floor was quite hard but this bit will hardly ever be seen anyway. Tomorrow I'm going to sand what I've done, prep again and then add 2 more layers to that side. I can still see dark patches where the filler etc is so think it will require 4 coats before primer and topcoat.
 

Woodonglass

Supreme Mariner
Joined
Dec 29, 2009
Messages
25,929
Re: Bayliner Capri unintentional restoration project

I think you'd have much better success if you had the hull flipped. Once the bottom was painted you could flip her back upright in about a week and then do the top. That's what I did and it was really easy.
 

jmmacky

Petty Officer 2nd Class
Joined
Jun 20, 2011
Messages
177
Re: Bayliner Capri unintentional restoration project

I think you'd have much better success if you had the hull flipped. Once the bottom was painted you could flip her back upright in about a week and then do the top. That's what I did and it was really easy.

I agree it would be a lot easier with the hull flipped. But I've had to alter the cap to make it fit the hull again and re-glass parts of it. Flipping it would have meant doing these alterations after the spraying which I think would have made it difficult to get a nice spray finish in these parts where it would be quite obvious. Doing it by tilting the messier areas are on the bottom of the hull where it won't really be seen afterwards anyway.
 

jmmacky

Petty Officer 2nd Class
Joined
Jun 20, 2011
Messages
177
Re: Bayliner Capri unintentional restoration project

I've already posted this picture in a separate trailer thread but thought I'd put one in here as well. It's been completely refurbished - brakes, painted, new parts, bunks, mudguards repaired, submersible LED lighting etc. I didn't want to put my nice finished boat back onto a rusty, knackered looking old trailer!

file_zps162b9cc2.jpg
 

jmmacky

Petty Officer 2nd Class
Joined
Jun 20, 2011
Messages
177
Re: Bayliner Capri unintentional restoration project

Sorry for the lack of boat posts recently. I have put many, many hours in over the last 6 weeks between paid work weeks on the painting. My spray tent worked really well but I think it was still a bit cold at times and I didn't always give it long enough for the substrate to warm up. I was pretty disappointed with the results I was getting with the high build epoxy and the epoxy primer. I didn't expect to get a perfect finish with my DIY spraying and complete inexperience but the finish was really rough so I had to do loads of sanding between coats and got through tons of sandpaper. Fiddling with all the spray settings each time didn't seem to make any difference. It took hours, was awkward and really frustrating. However, luckily the polyurethane topcoat laid down much nicer, leaving a pretty smooth finish with just a slight orange peel texture to it. I used painters masking tape and then reverse taped it for the stripe.

...But it was still not smooth sailing as I hadn't realised how much paint vapour is created! So there is a lot of overspray from the yellow onto the white as you can see in some of the photos. In hindsight I should have covered everything not being sprayed in plastic when doing the colour but you live and learn! I was planning on wet sanding the entire thing and polishing anyway so this will hopefully get rid of all the overspray - there will just be yellow in some divots in the white where I didn't do enough filling. Because I was starting with a 'high build' paint I thought this would fill in small holes/divots but it doesn't and I should have been more thorough with the filling but no one will notice when it's flying past them in the sea!

file_zps29a1c87e.jpg


file_zpsed04a132.jpg


file_zps1f638f80.jpg
 
Top