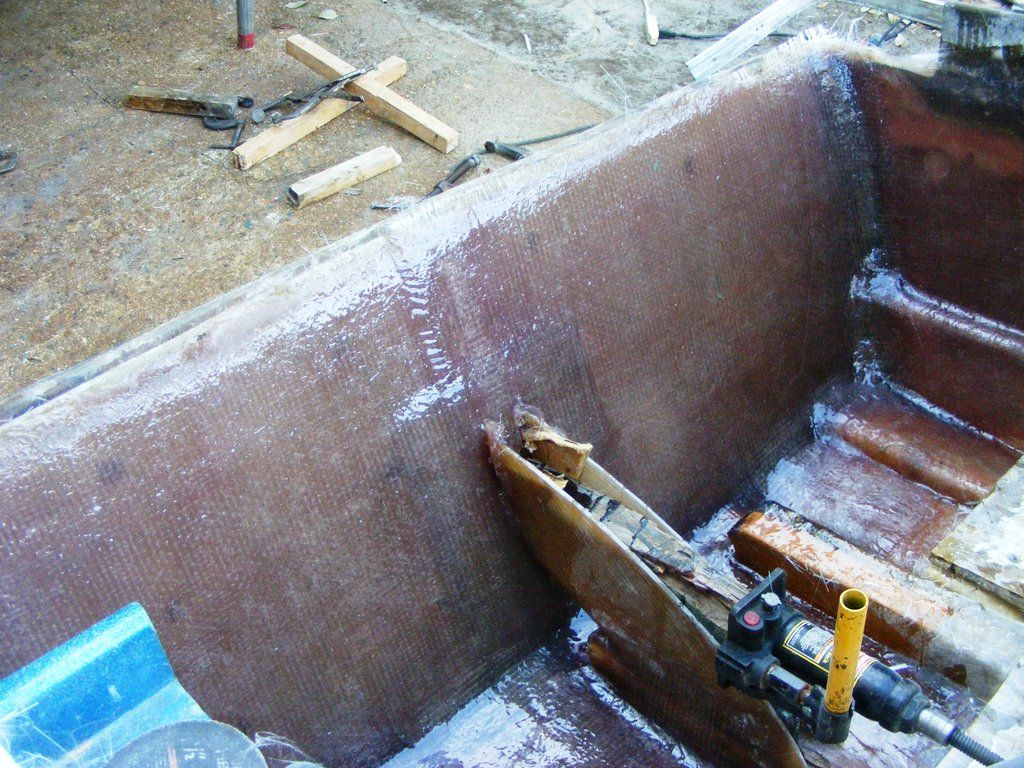
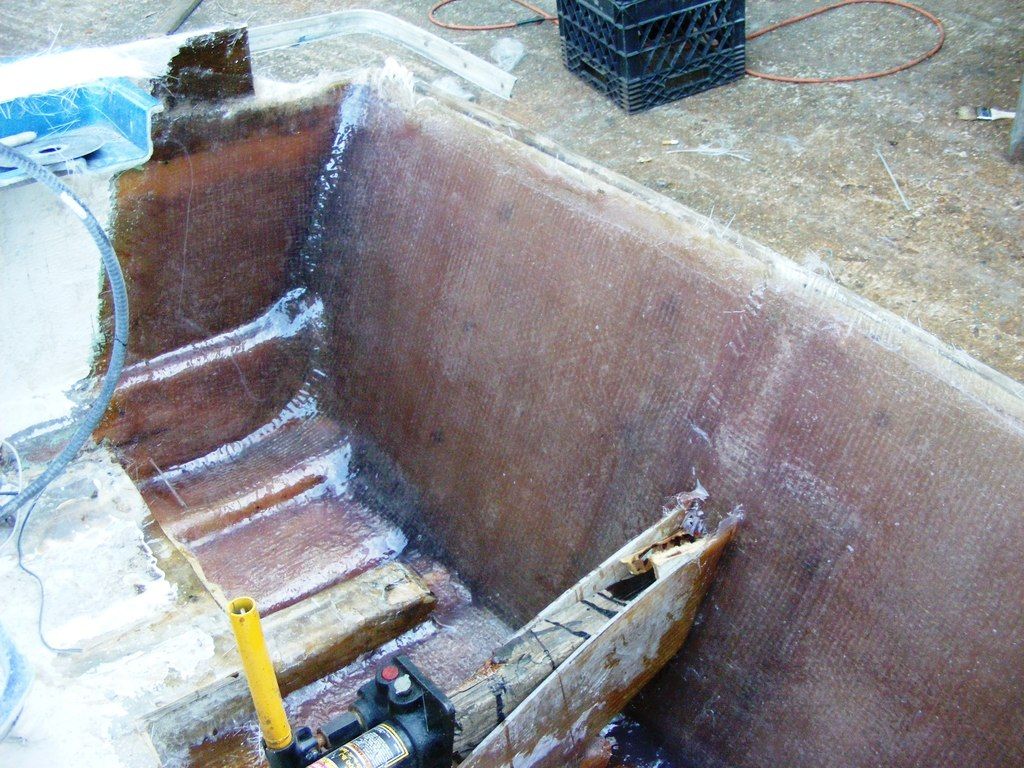
can of worms?

jrttoday

Lieutenant Junior Grade
Joined
Feb 8, 2010
Messages
1,081
excuse my doopstid question... all I had to do was search! Getting lazy, already tired... Looks like leave it open at the bottom of stingers and gusset the top will be best. Was nothing like that before I got it.

Glass Guy said he'd seen worse air on expensive yachts; says he would have let it go. They weren't anything significant, but......
 

sphelps

Supreme Mariner
Joined
Nov 16, 2011
Messages
11,475
So no under deck drain ?... Completely enclosed ? Nothing wrong with that just make sure everything is sealed up so no water can ever get under the deck ...If that's the plan you will have to glass the stringers to the transom ... If I'm understanding correctly ..
 

jrttoday

Lieutenant Junior Grade
Joined
Feb 8, 2010
Messages
1,081
it was completely enclosed. Am re-thinking the size of that gusset; and it will go through deck to stringer. Could make three much smaller, just a lot more work. But probably make two of glass and still downsize the one. OR........ lol
If I glass the two, should I continue filling the void with PB etc? or make glass gussets through deck and seal them? I do appreciate your feedback greatly! This is challenging enough....:lol:

Transom should take 7.992 in the extreme; gusset 1.1475 fairly exact unless geometry has changed since 1975 :lol: thinking my radiuses and thickness are big enough to absorb any and all stresses lol
That would leave enough for two small gussets; might be more trouble than worth?
I still might put a drain in, know when I get there... Made a tongue on a 2x3 with saliva lol and wedged it in the notch on keel, csm wrap and 24. That was after 3 csm and two 24 on the hull. Might not have needed it, just thinking that big gusset will transfer some energy.
 

jrttoday

Lieutenant Junior Grade
Joined
Feb 8, 2010
Messages
1,081
must have stepped back a few - kicking hard!! - know I zoomed in cos I wasn't about to go back in there with the fan already off. And wonder if red eye reduction would quit picking up reflection? cos there isn't any air!! lol 3 csm and two 24's - the jig is oversize and will trim the gusset down on both ends, possibly the top too.
http://[URL=http://s173.photobucket.com/user/jrttoday/media/DSCF0002_zpsbqomwnbc.jpg.html]

and I still need learn to quit messing with it sooner![/URL]
 

jrttoday

Lieutenant Junior Grade
Joined
Feb 8, 2010
Messages
1,081
re: worms eating brains
Kinda knew before I started, and was some the title - that this job would be very involved and with things I have no knowledge of. Being creative energizes me but also takes a lot of energy. Been back and forth with the below deck drain (system) and am still working on a solution.

Water drains easily off the deck back into the sump - bilge pump and drain located there. Am considering two outboard drains; one being for below deck and means I have to move the box forward with a longer drain tube.

anyway, I saw a flair tool for drain; is it necessary to flair? seems like a good idea, but the old one was only flared on the outside
 

sphelps

Supreme Mariner
Joined
Nov 16, 2011
Messages
11,475
Yes flare it ... How much height do you have from the top of the deck to the actual hull bottom ...
On my Manatee I made a raised bilge pocket to collect deck water and house the pump ...That allowed just enough room under it for a drain .. So 2 drains , one above and one below deck ...
 

jrttoday

Lieutenant Junior Grade
Joined
Feb 8, 2010
Messages
1,081
Yes flare it ... How much height do you have from the top of the deck to the actual hull bottom ...
On my Manatee I made a raised bilge pocket to collect deck water and house the pump ...That allowed just enough room under it for a drain .. So 2 drains , one above and one below deck ...
understood... It's stuff like this that are the real worms... and the itchy smelly messy inside and out running around cleaning up only to do it again and again figuring and refiguring.... so you can sleep medicine to do it all over tomorrow! :lol:

Without going out there, off the top of my head - exact measurements need be made as I'm going. Stringers are 3" tall and the deck was screwed in and glassed, deck begins slope aft of seats - maybe under gas tank? The plan is to flatten that out the last couple or three feet. Guessing for now, close to 5" top of deck to bottom of hull - possibly more without having a positive slope.

Probably use a drain with a screw type plug for below deck; doubt it'll be used much, just that it's there. Might as well instal an external livewell drain while I'm at it. - and put a T in the line cos sometimes want to empty at sea... can you mail me some BC's?
 

sphelps

Supreme Mariner
Joined
Nov 16, 2011
Messages
11,475
I just took my last 2 BC's .... I got some generic ibuprofen I can send ?
Yep I have the regular style drain tube but use the little T shaped plug instead of the lever type .. Every time I take it out it's bone dry under the deck ... So far alls good ..
 

jrttoday

Lieutenant Junior Grade
Joined
Feb 8, 2010
Messages
1,081
I was thinking..... ---- and therein lies the problem :facepalm: :lol: ---- of a threaded plug with a square head or Allen, threadlocker or pipe dope. Thought I saw one somewhere online?
I like the raised box idea, however, think I'm gonna mount it flush for box depth. Less likely to cavitate; run a split PVC down the side of keel for that area.
Not that I care, but remember, this is under destruction lol and final cuts need be made
http://
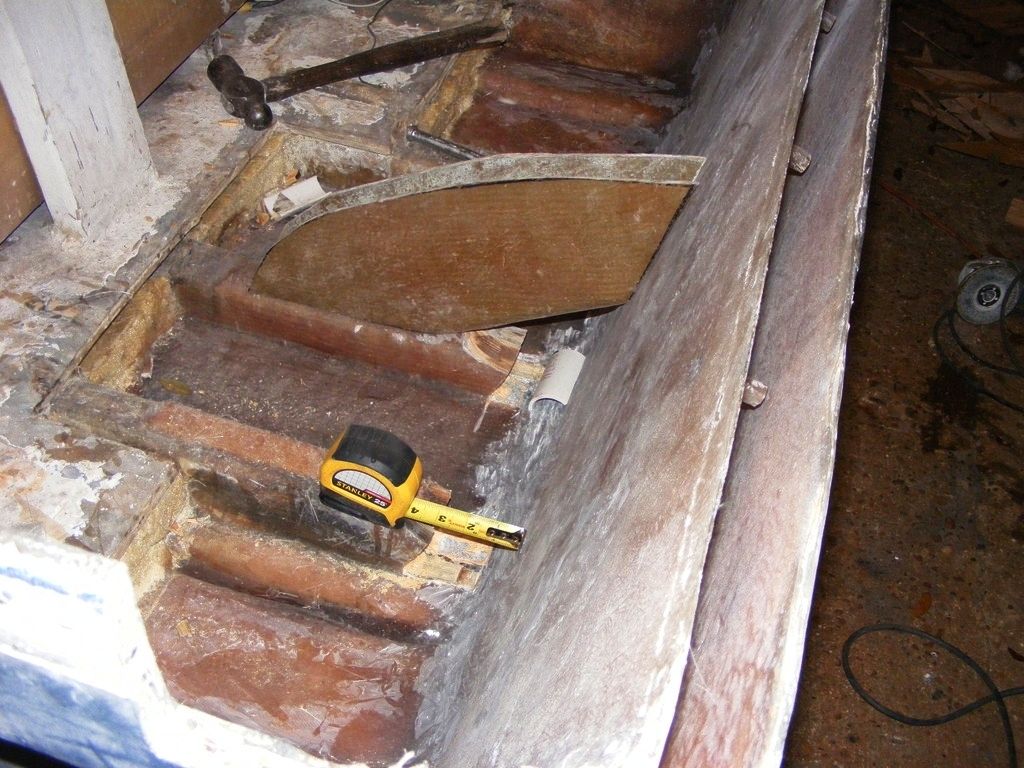
Computations were made with jig full size and connecting the stringers with Seacast at 5" long, 3x3" wide, and a 4" gusset 3" wide. Also, I figured the transom at 1.6 as opposed to 1.5 for a margin of error. Without reducing the size of anything, would need .0545 more Seacast.
Have already taken 1/2" off of main gusset on three sides; the stringers will need 3" plus the tongue. Plan on glassing PVC as shown for drainage in all three. Will cut inner skin so that the Seacast is all one piece.
If you're confused, trust me, I've been there all day :lol::lol:

Probably leave the 3/4" stinger wood alone and glass over - it goes down in the hull. 2x4 wood will be removed back there.
 

sphelps

Supreme Mariner
Joined
Nov 16, 2011
Messages
11,475
So with the gusset in the middle I suppose an offset from center bilge pocket ...
Have you considered using just 2 layers of 3/4" ply for the gusset ? That would save some seacast . Not really sure how much strength you will gain by pouring all together ... With a good glass layup, which you'll need to do anyway , I would think be just as strong .. I guess ... Idk
Just a thought ...
 

jrttoday

Lieutenant Junior Grade
Joined
Feb 8, 2010
Messages
1,081
It's all entertainment with so much time on my hands. Does it need..... how much... what if....? The gusset came into existence when I realized the extra cost - though minimal - in doing it with glass and that I would have two gallons Secast leftover anyway. The question became, not "why" but "why not"?

It isn't all about strength, that's my answer to a hood ornament!!! :lol:

Originally, pocket was port side of keel - most likely be on starboard now... haven't made up my mind yet... but it means moving the outlet to starboard because I don't want more hose. No matter how the deck goes back, it gets PB to hull and tabbed, including transom. The double tabbing - hull and deck - makes that a gusset of sorts.

Overkill? she's built that way and my boat makes no noise at speed in rough seas :D
 

jrttoday

Lieutenant Junior Grade
Joined
Feb 8, 2010
Messages
1,081
Not really sure how much strength you will gain by pouring all together ...
Just a thought ../QUOTE]

Thanks for the thought, gave me cause for pause..... Did not contact the good folks at Seacast because it wouldn't matter they said yea or nay. I've seen enough steel fail after an engineer said it wouldn't - a shear point may or may not be created by direct connection. If ever I hit something hard enough to take my lower unit, the jolt will be felt everywhere.

Glass can be repaired more easily and be seen; opposed to internal damage. Main gusset still to be Seacast and will pour it last, just in case but don't think I'll be short...
It's all coming along nicely, have to stab at it a little every day. It's going to take a minute to lay the inner skin, might opt to wait on some help...
 
Last edited:

jrttoday

Lieutenant Junior Grade
Joined
Feb 8, 2010
Messages
1,081
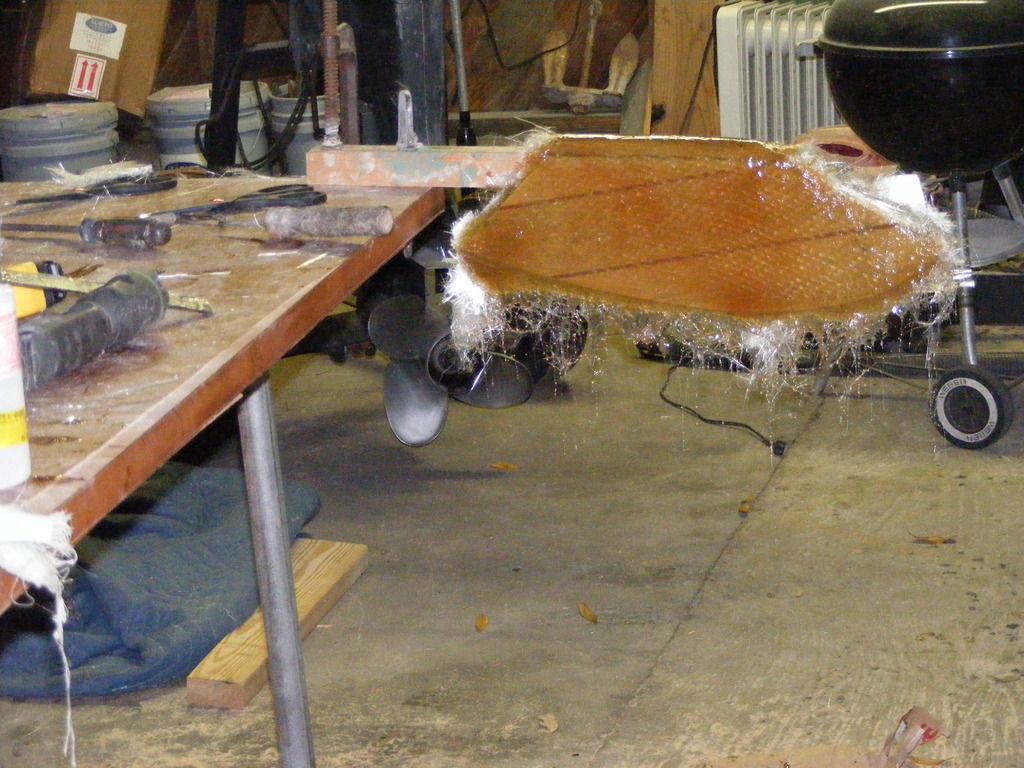
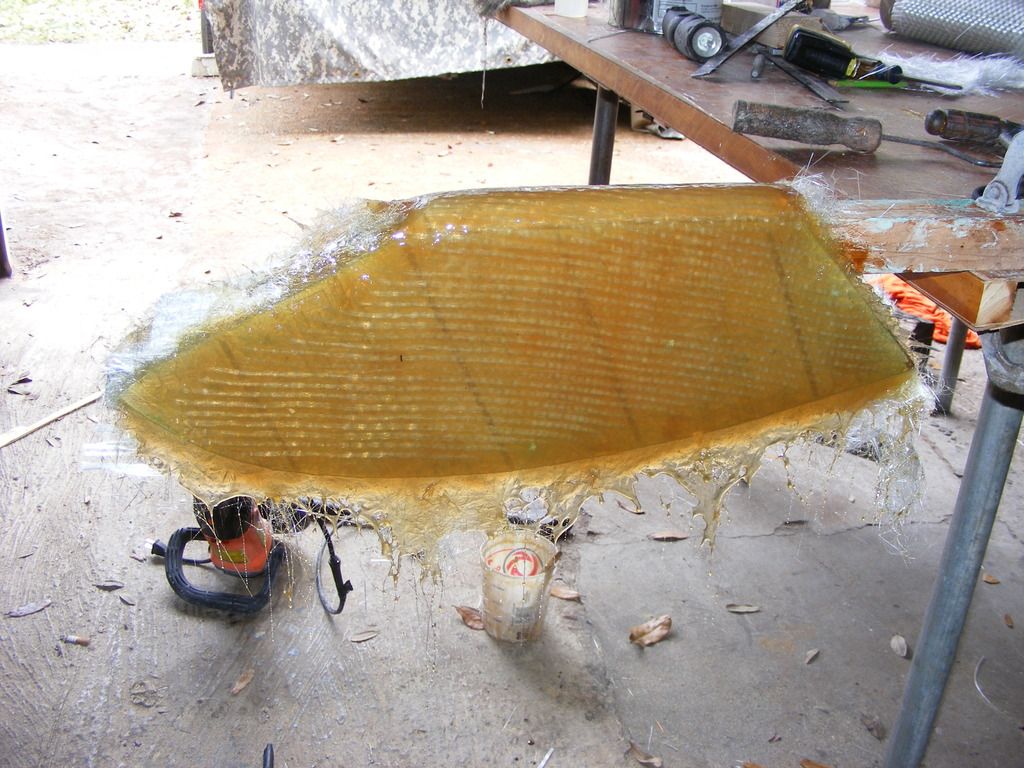
I salute those who glass without making a mess; and those that do such neat and pretty work!! Guess I need pay Glass Guy to stick around - he laid out that first piece and hasn't been back, except to drink some coffee and give a tip or two. That's enough.... you couldn't pay me to do glasswork (don't mind doing some for self, but that's IT! lol)
http://[URL=http://s173.photobucket.com/user/jrttoday/media/DSCF0010_zpsftl5wirw.jpg.html]

made a 12x10" pad of 3 csm 2/24 against the inner layer of inner skin, other layers of inner skin later after that sets. [/URL]
did a first layer of csm/24/cam to keel, add more later as well. I was going to make one continuous piece from gunwale to gunwale; he said not, but to overlap tabbing. 24 acts funny in corners and it would be too much work to keep it all flat.
 

sphelps

Supreme Mariner
Joined
Nov 16, 2011
Messages
11,475
Yeah woven don't like to bend around corners without a lot of persuading ... The more you glass the better you'll get at it ...
 

jrttoday

Lieutenant Junior Grade
Joined
Feb 8, 2010
Messages
1,081
better at what? making a mess!! :rolleyes:
edit/ addition to previous... Now I'm glad I said that about paying him. He doesn't know me that well, but I consider us as friends - we get along OK. Contributions are welcome, but friends fish for free... And if nothing's in the way, I go ALL THE TIME. My philosophy is bring what "you" need, and let's go - I'm going anyway

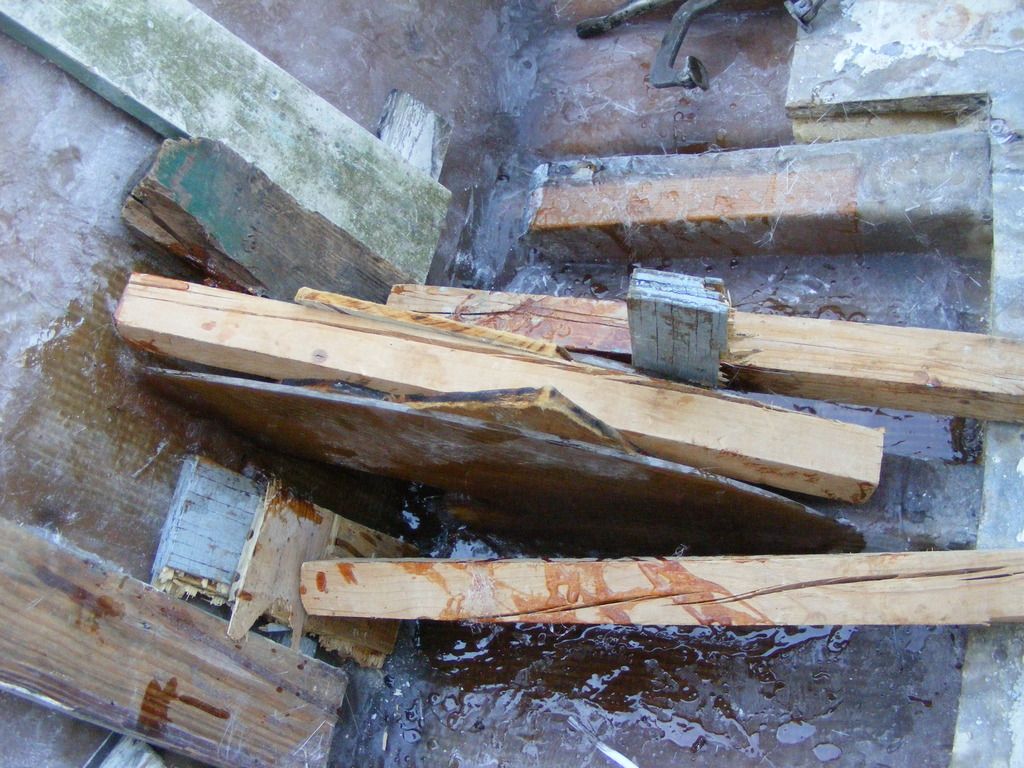
:lol: that wood was split before I wedged it in there. I know it looks like it's under a lot of stress....
 
Last edited:

jrttoday

Lieutenant Junior Grade
Joined
Feb 8, 2010
Messages
1,081
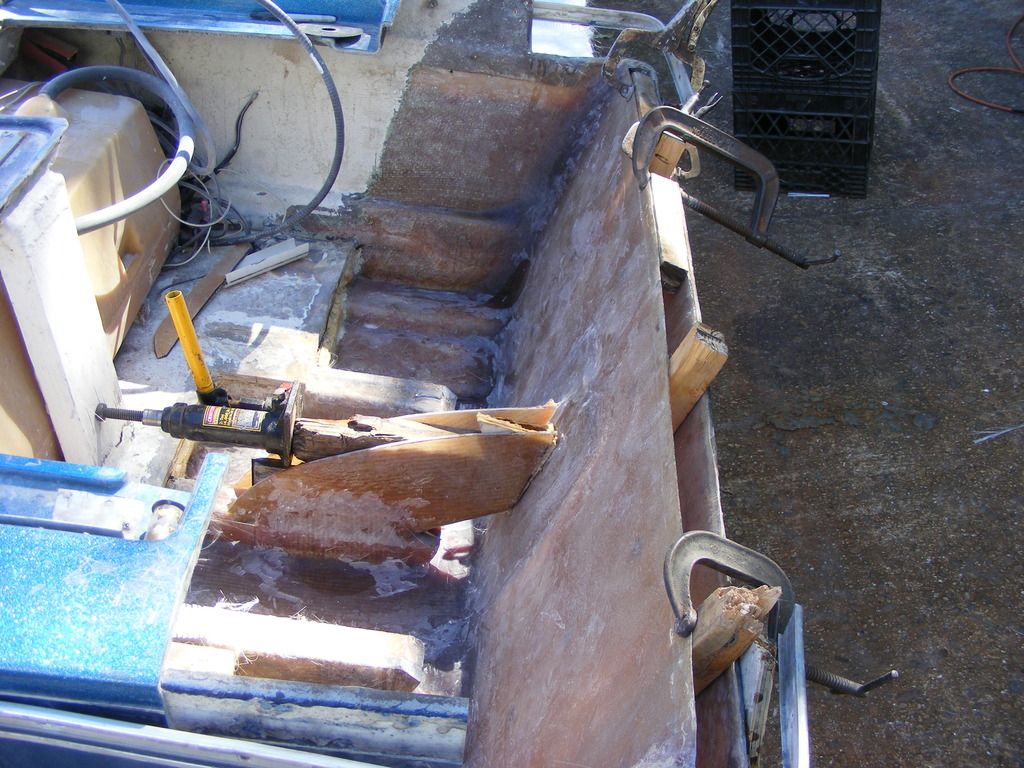
am so tired, I don't even feel like posting :lol: but used to work harder than this every day! The pucker returned after those two layers of 24 for the gusset - the "why" I braced it to tab gusset to keel. Didn't see that the rear seat support had broken :facepalm: and had to jack it back in place. Top lip had curled and had to clamp it down - which created an issue to negotiate in finishing the inner skin
http://[URL=http://s173.photobucket.com/user/jrttoday/media/DSCF0013_zps1srfbzfw.jpg.html]

The way things are... the best I can tell is that as much as 1.25" will have to come off top of inner skin. Will most likely add some PB or 24 to starboard side.[/URL]


Never having worked together before, this is about the best two disabled guys can do... That's two layers of 24 everywhere (making that 4 layers at gusset) and it wasn't much trouble getting that to lay on that outboard lip. Should finish tabbing gusset to transom tomorrow and other minor touchup.
 

jrttoday

Lieutenant Junior Grade
Joined
Feb 8, 2010
Messages
1,081
thanks ! it is really strong even without the gusset tabbed. Covered and heated a few hours to help the surface dry last night and it's all good. - one or two single hairs, no bad hair day lol. Finish off drain and livewell holes (been waiting on a warmer day because they're outside the hull), plus the bilge outlet, make a new cap and one for the gusset.
Tie the stringers in - making a cavity for Seacast there. They will be last, but will not be short according to math.

I guess my problem with "how things look" is due to working with aluminum the last three years that I worked. I find myself agonizing and nitpicking every little thing!! And then not having the exact right tool to do what I want. End up just making do with what I have.....
 
Top