gatorfan6908
Petty Officer 2nd Class
- Joined
- May 17, 2010
- Messages
- 149
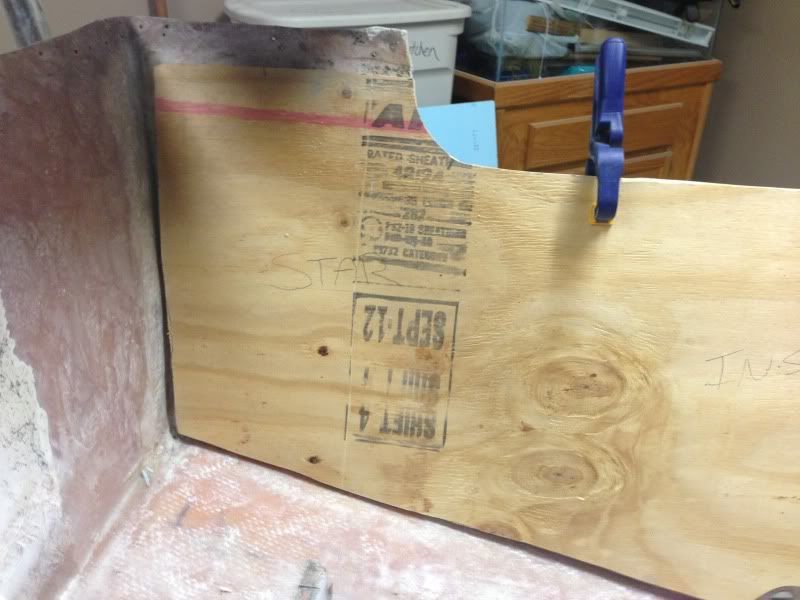
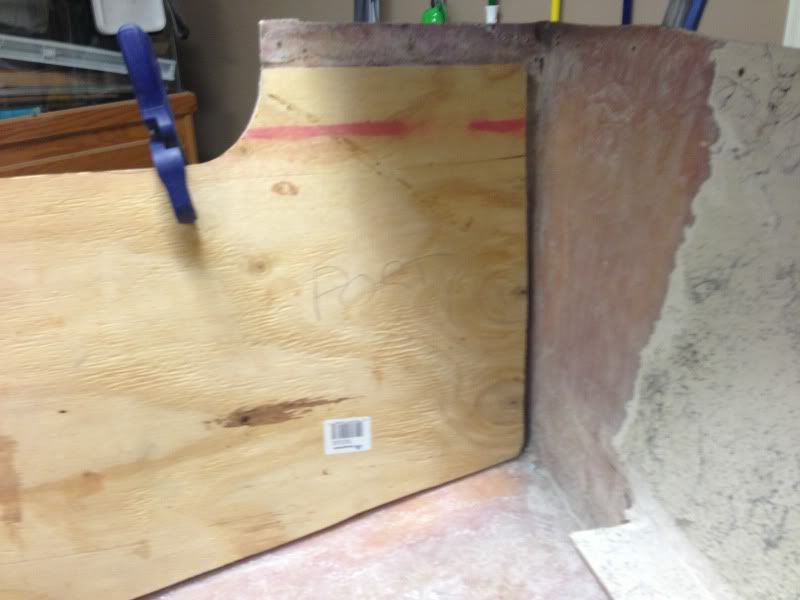
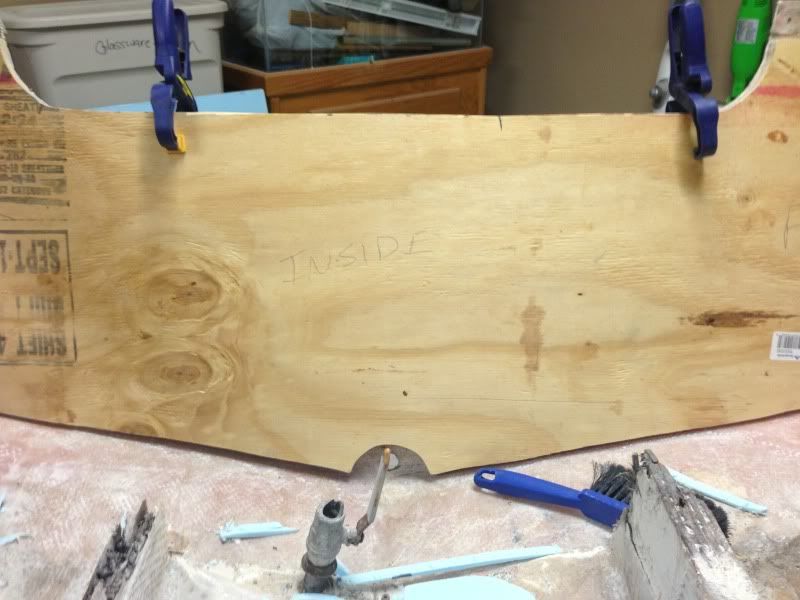
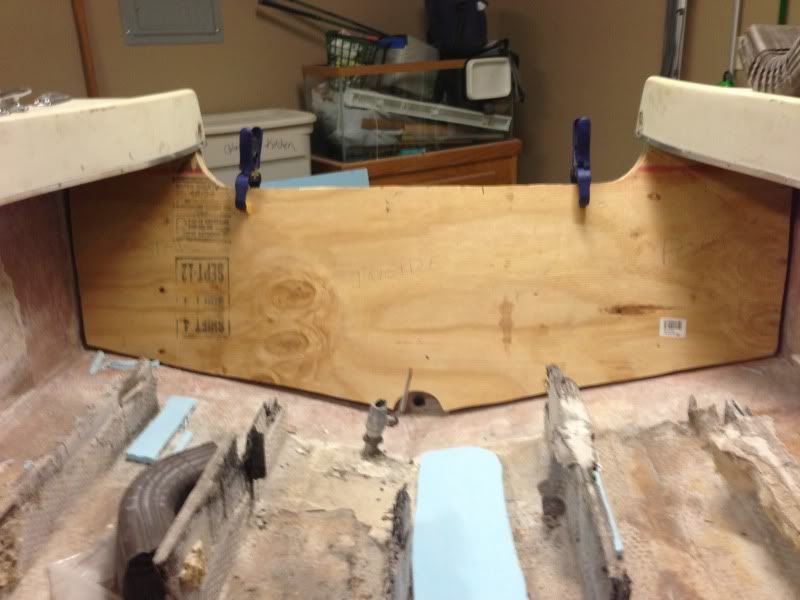
Re: Staring at this vessel in my yard... Is she worth fixing?
Re: Staring at this vessel in my yard... Is she worth fixing?
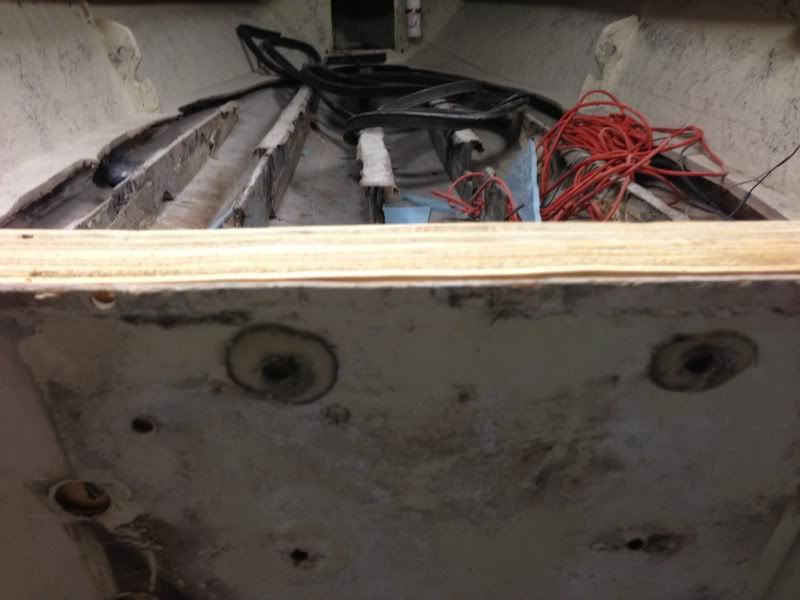
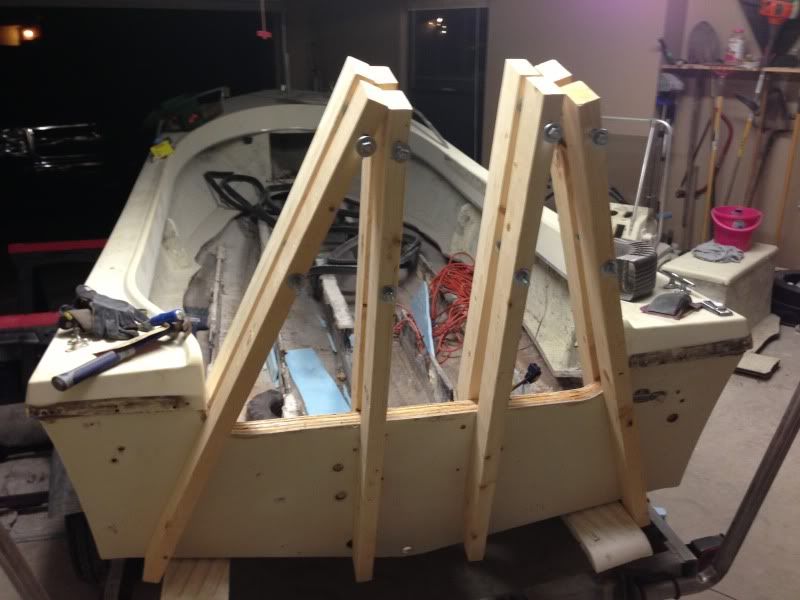
Well.. If I do the runs under the gunwales, the cables would have to make their way across the deck... seems like quite the tripping hazard to me. But if you know a way to do it, I would love to hear it.
Anyways, what you said about the j-pipe is a great idea! I can definitely find a way to fit that in! Honestly... I think that suggestion just solved the biggest problem I have encountered to date... other than the wiring of the electrical system itself. Thanks again for the help!
Lonnie
Re: Staring at this vessel in my yard... Is she worth fixing?
Well.. If I do the runs under the gunwales, the cables would have to make their way across the deck... seems like quite the tripping hazard to me. But if you know a way to do it, I would love to hear it.
Anyways, what you said about the j-pipe is a great idea! I can definitely find a way to fit that in! Honestly... I think that suggestion just solved the biggest problem I have encountered to date... other than the wiring of the electrical system itself. Thanks again for the help!
Lonnie
")