- Joined
- Oct 25, 2011
- Messages
- 25,292
Re: '89 Bayliner Avanti restoration - where to start?
Simmer down PO 2nd Class.......
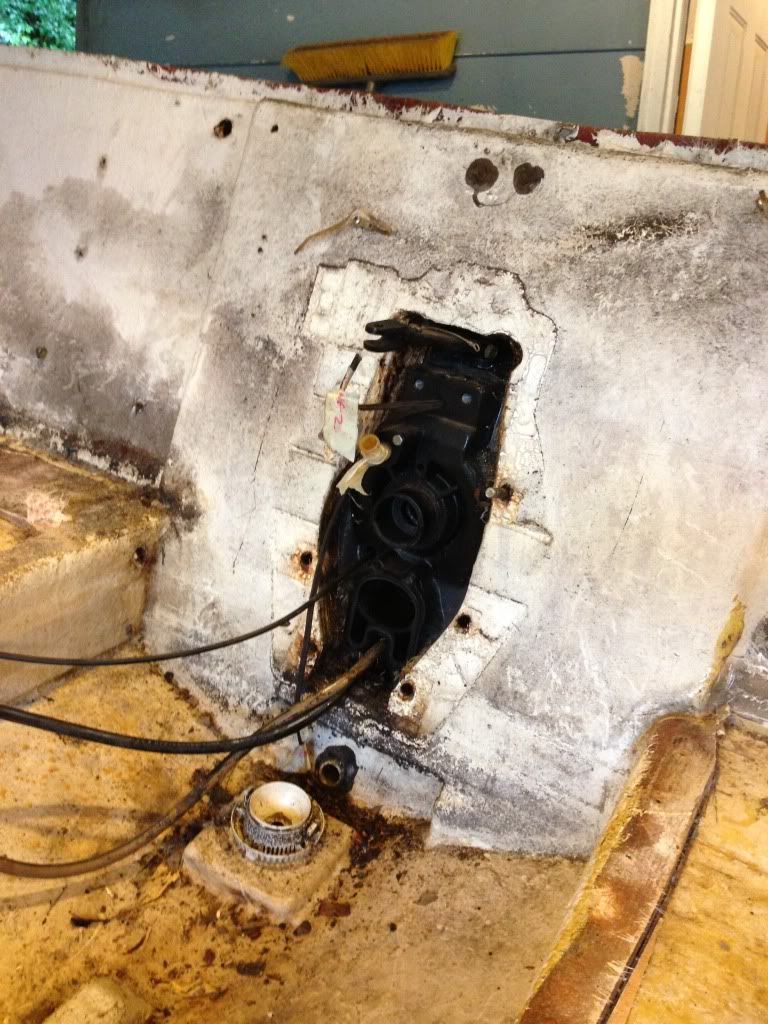
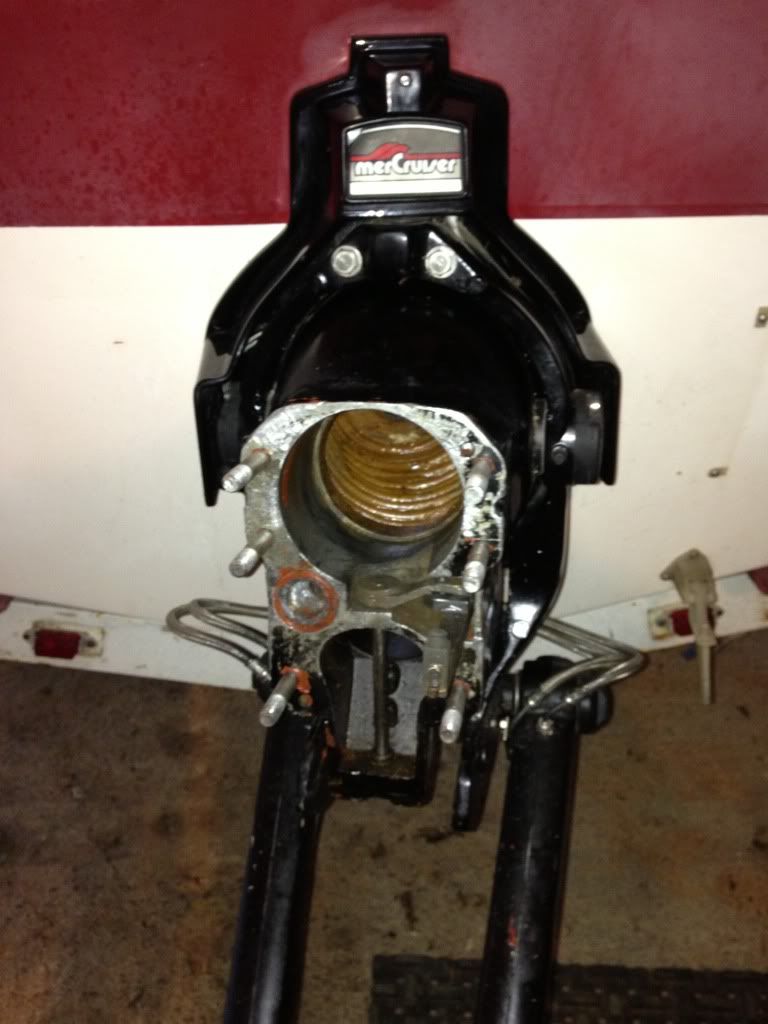
Its an OUTDRIVE stand. The transom's the part w/ the big gapping hole from whence the outdrive came :watermelon:
Nice stand all the same....... As WOG mentioned before, if the earlier iboats you could see you now: using the lingo, doing the work, getting it done...
Remember the great feeling of conquering the I/O & engine when the glass grinding seems to never end.
Simmer down PO 2nd Class.......
Its an OUTDRIVE stand. The transom's the part w/ the big gapping hole from whence the outdrive came :watermelon:
Nice stand all the same....... As WOG mentioned before, if the earlier iboats you could see you now: using the lingo, doing the work, getting it done...
Remember the great feeling of conquering the I/O & engine when the glass grinding seems to never end.