- Joined
- Jul 23, 2011
- Messages
- 52,806
Re: '89 Bayliner Avanti restoration - where to start?
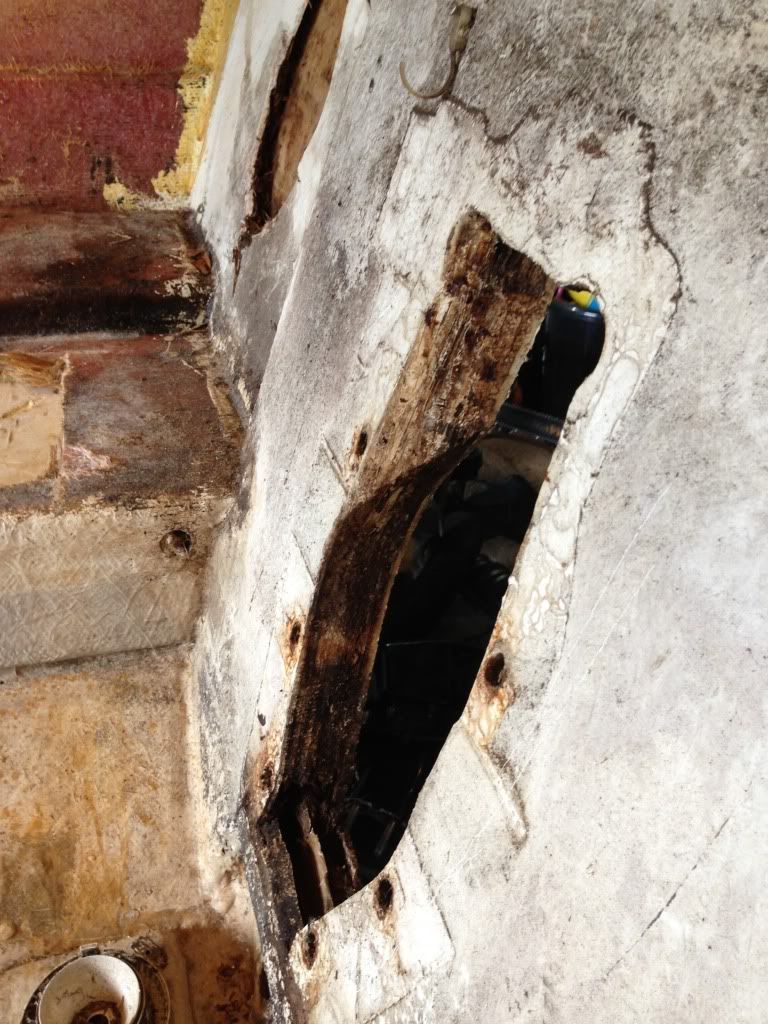
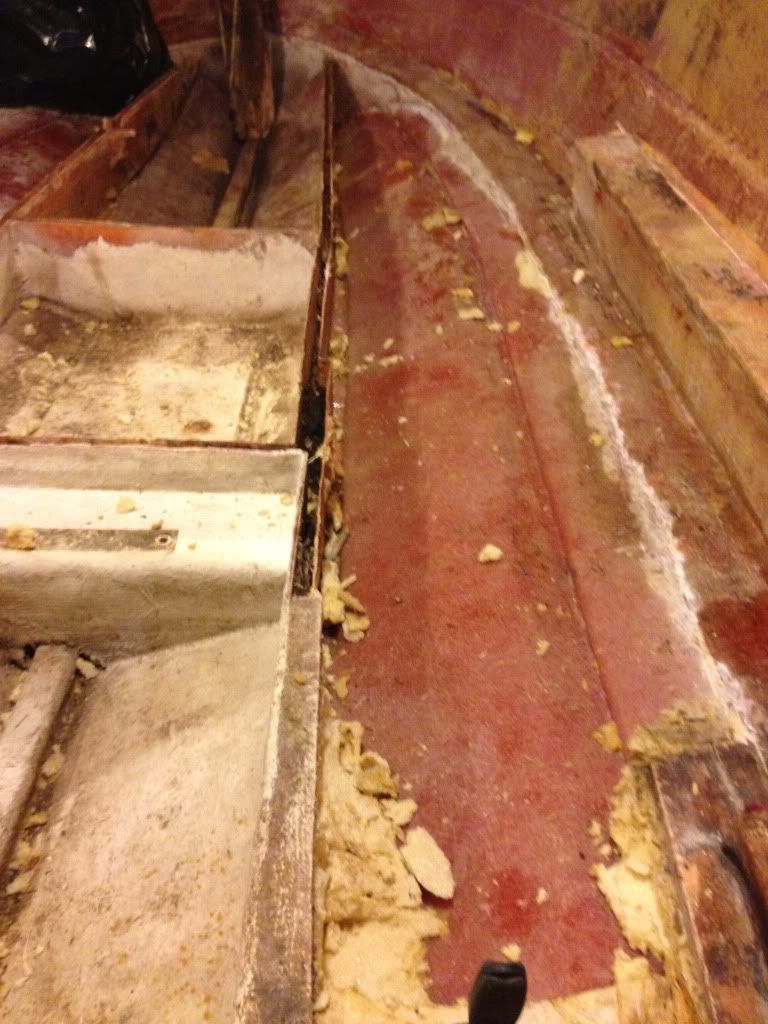
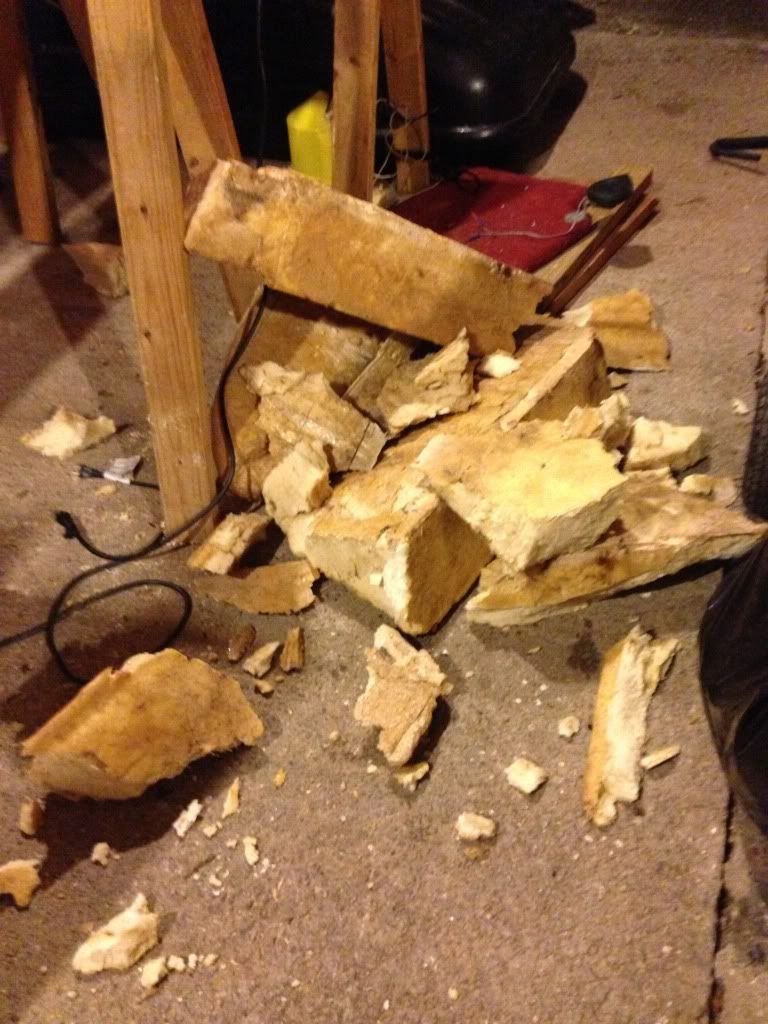
Now arent you glad you pulled the motor and drive. yes the wet wood looks nasty now, however your nearing the end of the tear down.
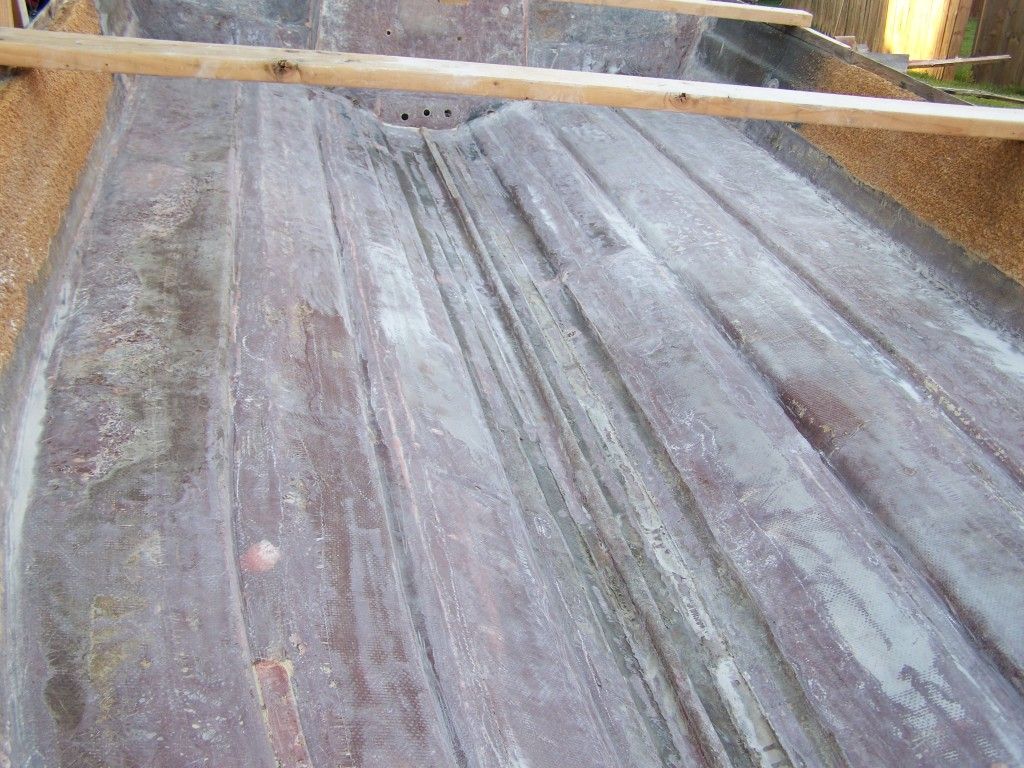
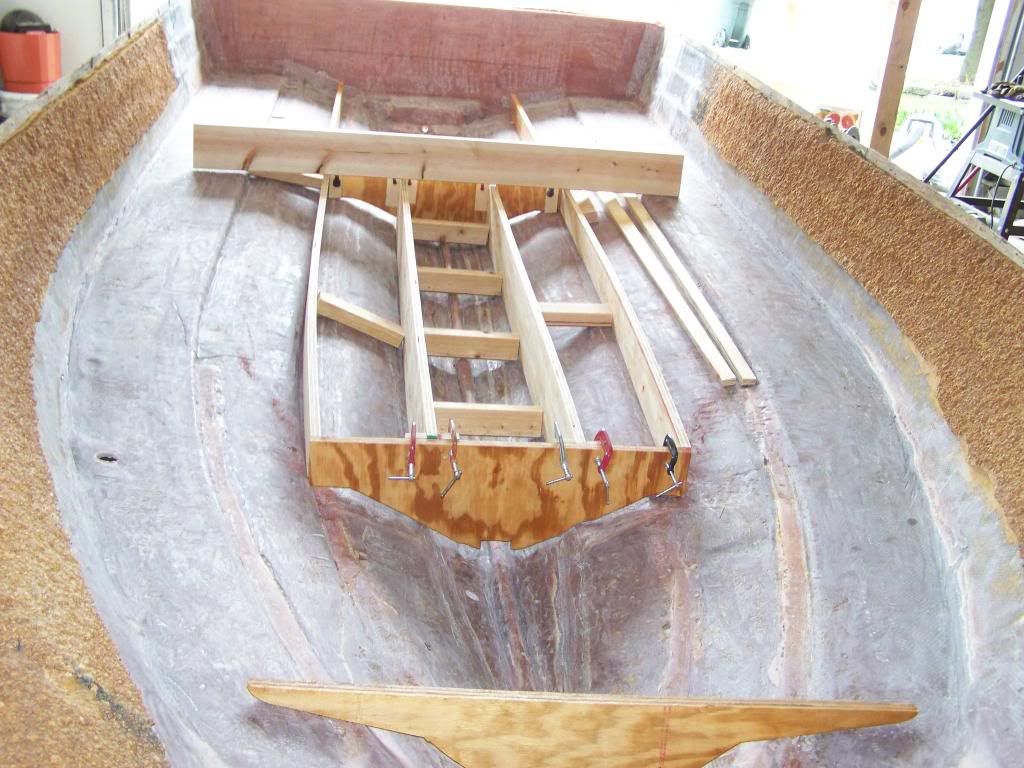
Looking good so far. remove the inner covering of 'glass over the rotten wood. take plenty of measurements and pictures along the way. use the 24 grit discs to clean the inside of the outer fiberglass hull, and about 10-12" back on the sides, and about 8-10" up the sides where you will be tabbing in the new floor.
so far, your doing great.
Now arent you glad you pulled the motor and drive. yes the wet wood looks nasty now, however your nearing the end of the tear down.
Looking good so far. remove the inner covering of 'glass over the rotten wood. take plenty of measurements and pictures along the way. use the 24 grit discs to clean the inside of the outer fiberglass hull, and about 10-12" back on the sides, and about 8-10" up the sides where you will be tabbing in the new floor.
so far, your doing great.


")