Somehow, someway I have completely missed your amazing restoration! And to think you started it a little while before mine...
You have done a superior job on this Bayliner!
I am humbled by your craftmanship...your work exemplifies a true passion for doing things the right way...
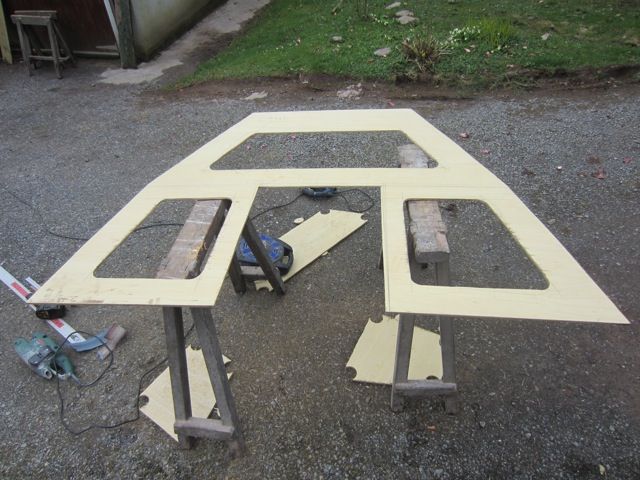
Every bit is 1000 times better than anything the original manufacturer could have done...the boat, the trailer, and the soon to be, modified and re-styled interior...WOW!!!!
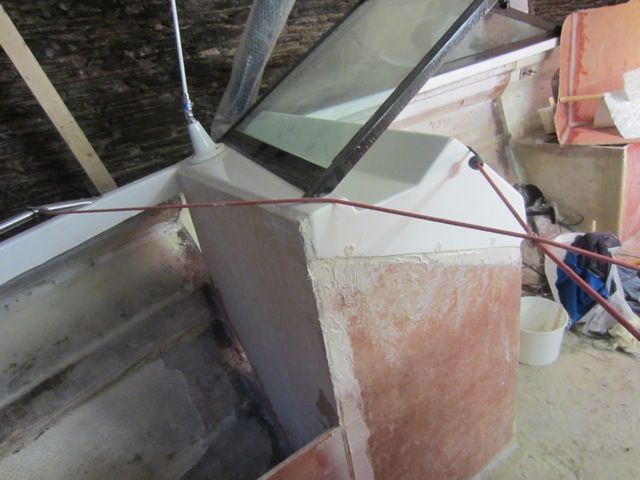
I really like the innovative solution to "extending" the barn door...
")
I just finished reading through this thread and I will definitely be staying on board to watch the upcoming finish to this awesome labor of love!
Best Regards,
GT1M